Forum: Photography
Subject: Interesting Photoshop Tutorial
bclaytonphoto opened this issue on Oct 04, 2006 · 19 posts
bclaytonphoto posted Wed, 04 October 2006 at 7:03 PM
I found a link to this over at Terranuts
Pretty interesting..Looks like fun..Not sure how practical it is...But...hey, you never know..
http://recedinghairline.co.uk/tutorials/fakemodel/
www.bclaytonphoto.com
bclaytonphoto
on Facebook
Radlafx posted Wed, 04 October 2006 at 7:21 PM
Thanks for the link Bruce. I see you didn't mention the FG clip on the home page. (scroll down) http://recedinghairline.co.uk/
Question the question. Answer the question. Question the
answer...
I wish I knew what I was gonna say :oP
TomDart posted Wed, 04 October 2006 at 10:37 PM
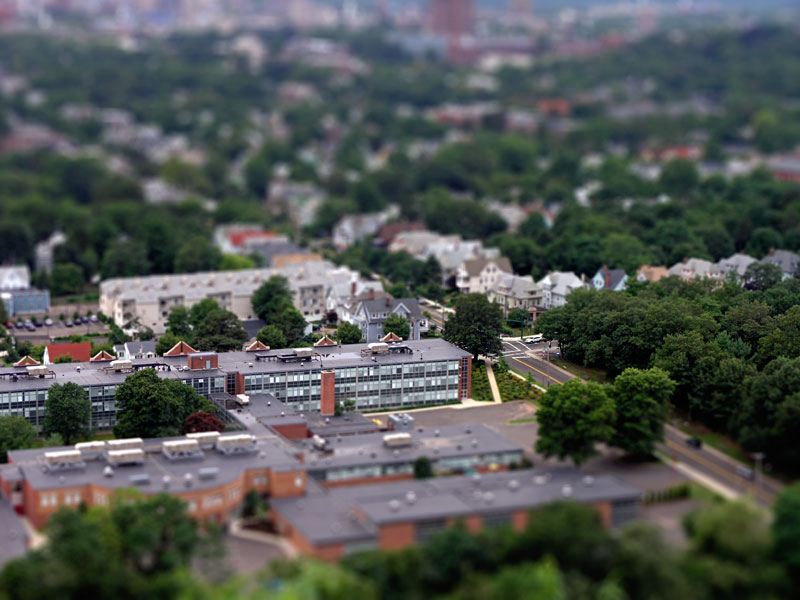
This is one weird approach to postwork! I hadn't thought of taking what is a photo and making it in some ways "less that it was" to start with. Maybe "wired" is better than weird...ho ho. Very, very interesting. TomDart.
TwoPynts posted Thu, 05 October 2006 at 3:23 PM

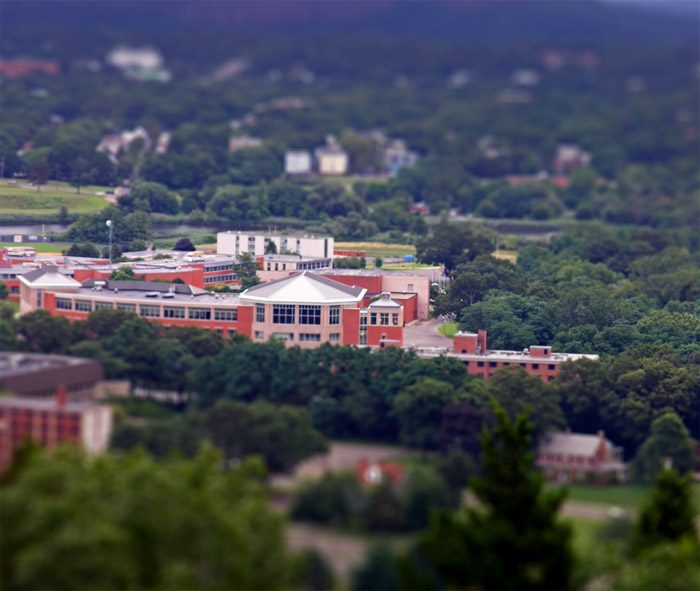
I had seen this before but never tried it, so this seems like the perfect opportunity, and a found a great photo for it, I think. Here is the AFTER.
Kort Kramer - Kramer Kreations
TwoPynts posted Thu, 05 October 2006 at 3:24 PM

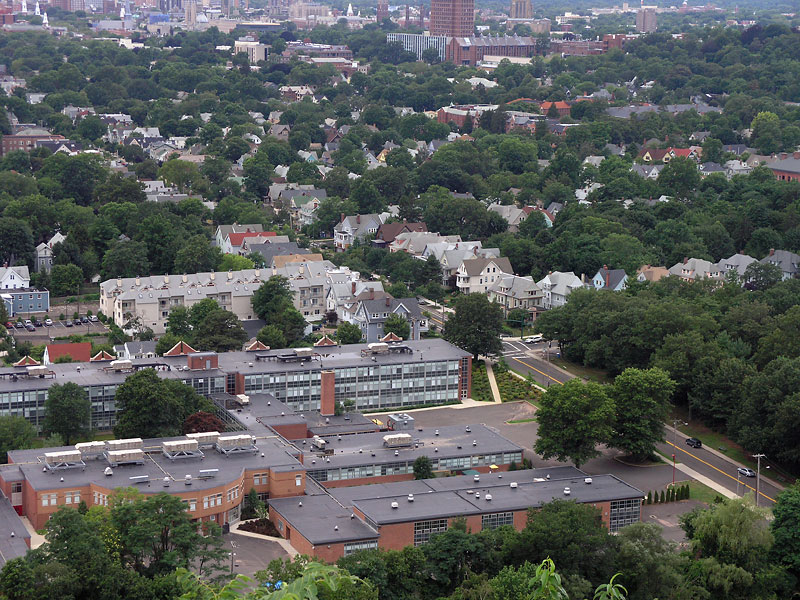
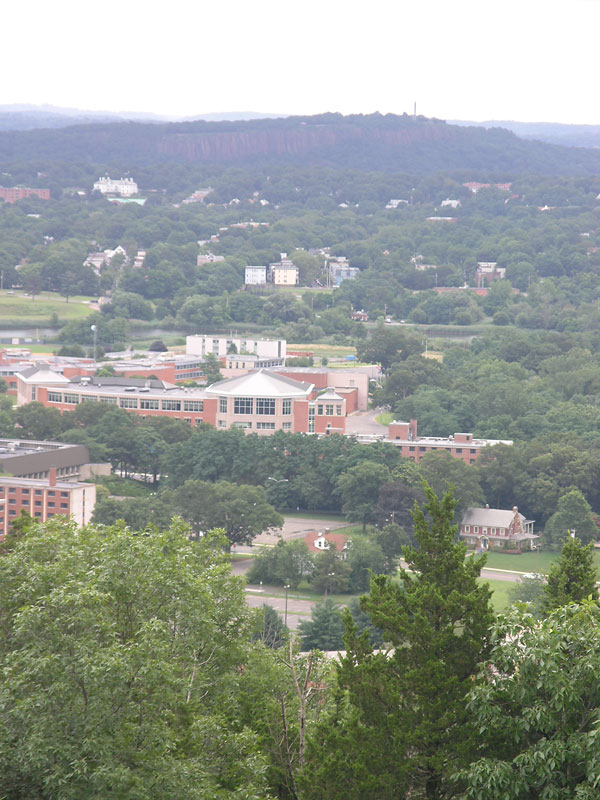
And here is the before. I disagreed with his curves suggestion, it blew out my image too much. I used Levels instead, and more sparingly.
Kort Kramer - Kramer Kreations
bclaytonphoto posted Fri, 06 October 2006 at 5:15 AM
TwoPynts posted Fri, 06 October 2006 at 9:21 AM

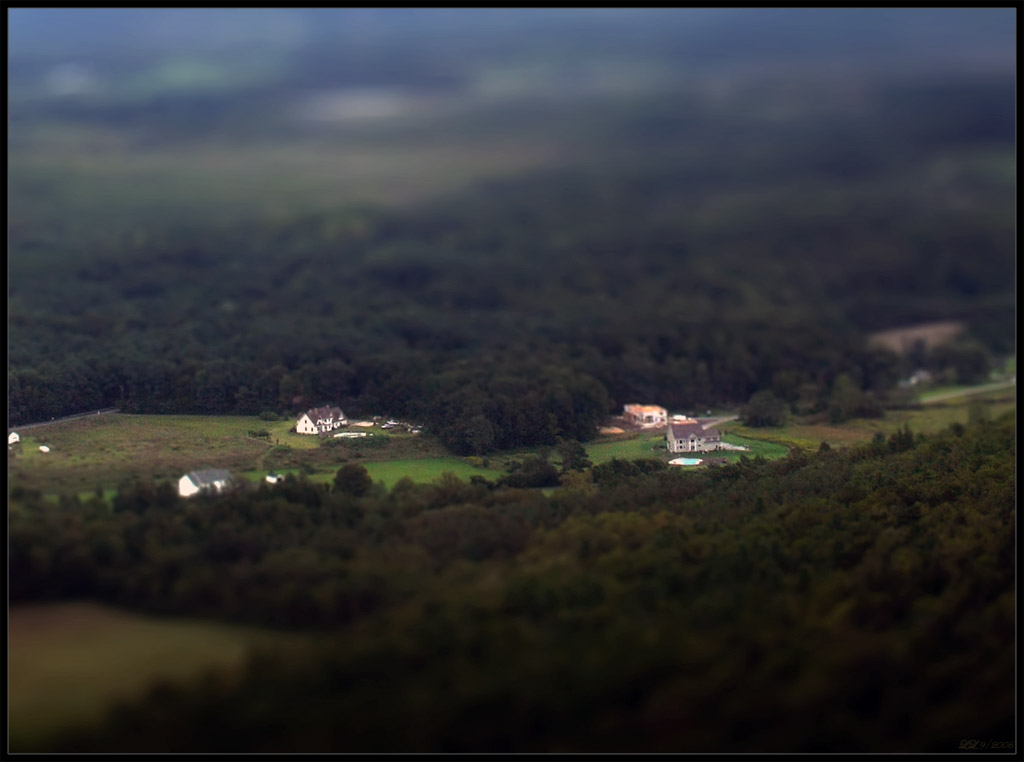
Thanks Bruce. I hope we can get some other people to give this a try, it is pretty neat (i think). Here's another. The after.
Kort Kramer - Kramer Kreations
TwoPynts posted Fri, 06 October 2006 at 9:22 AM

...and here is the before.
Kort Kramer - Kramer Kreations
TwoPynts posted Fri, 06 October 2006 at 2:21 PM

One last one.
Kort Kramer - Kramer Kreations
TwoPynts posted Fri, 06 October 2006 at 2:21 PM

...and the source photo.
Kort Kramer - Kramer Kreations
babuci posted Fri, 06 October 2006 at 6:53 PM
Hi guys!
Unreall how can trick my eyes, I love it. I did some on my pictures, so tricky! Great fun for a weekend. ( I don't have cs2 but go around it)
Kort please keep post some,.... so cool!
seeyus Tunde
TwoPynts posted Sat, 07 October 2006 at 5:32 PM
I don't think you need CS 1 or 2 for this, you can modify it to work in older versions.
Kort Kramer - Kramer Kreations
TwoPynts posted Mon, 09 October 2006 at 1:45 PM
Are you all going to let me be the only one to post some attempts at this?!? ;o]
Kort Kramer - Kramer Kreations
Melen posted Sat, 14 October 2006 at 10:52 PM

Cool tutorial... I don't have any really decent shots to do this with, but I found one that was passable. I like this effect.
TwoPynts posted Mon, 16 October 2006 at 9:10 AM

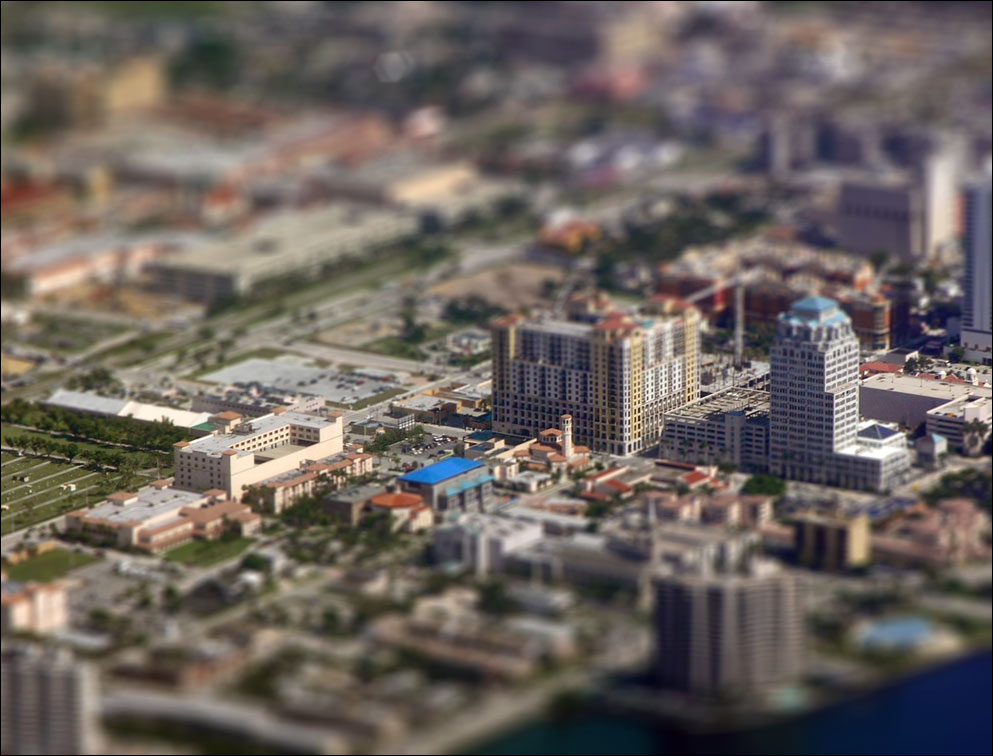
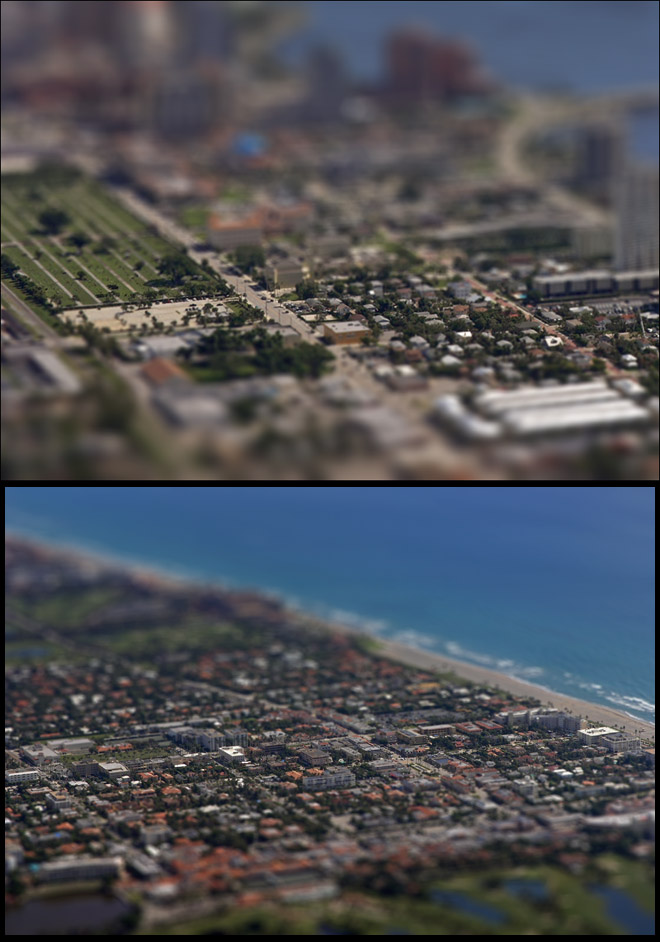
Hey, nice to see someone else play. ;] It is amazing how it really looks like a scale model. Okay, I love these, one more from me. (West Palm Beach)
Kort Kramer - Kramer Kreations
TwoPynts posted Thu, 16 November 2006 at 9:21 AM

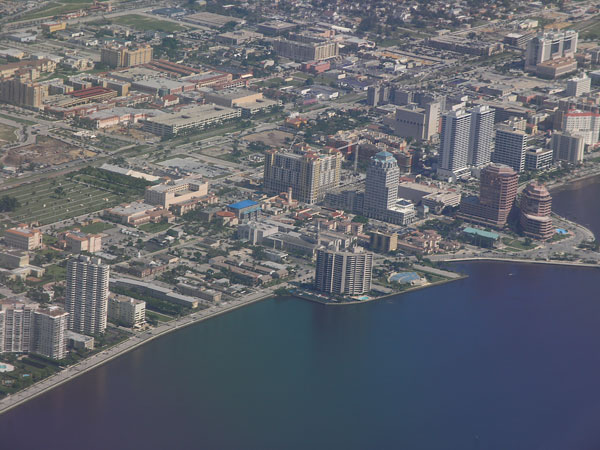
Oops, I forgot to post the original from that one. Here it is. I'm doing this because I put 3 of these images in my gallery today. ;']
Kort Kramer - Kramer Kreations
Onslow posted Thu, 16 November 2006 at 12:16 PM
Nice tutorial - I was convinced I was looking at models looking at Korts pics before I went to the link. Very effective indeed :)
And every one said, 'If we only live,
We too will go to sea in a Sieve,---
To the hills of the Chankly Bore!'
Far and few, far and few, Are the lands where the Jumblies
live;
Their heads are green, and their hands are blue, And they went to
sea in a Sieve.
Edward Lear
http://www.nonsenselit.org/Lear/ns/jumblies.html
kjpweb posted Thu, 16 November 2006 at 2:25 PM

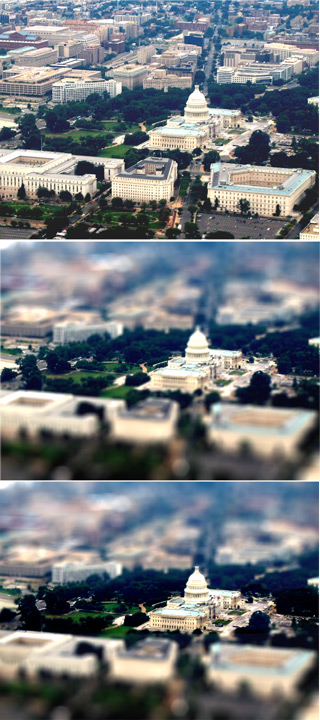
After some forth and back with TwoPynts I came up with a solution, that is based on the above tutorial, but adds some steps in order to provide more optical accuracy, by preventing items, that shouldn't be affected by the blur to get blurred.
The "How to" is pretty straight forward.
In addition to the steps in the tutorial create two additional layer. Leave one untouched - and apply the blur effect to the second, just in reverse.
Now follow through with the tutorial.
As you see in my examples 2nd image - the effect is already there - but it has the problem, that the top of the Capitol and some of the tree tops to the left and right of it are effected by the blur. To be optically accurate however - they shouldn't.
That where the copy of the original layer comes into play. Moved over the already blurred layer it will cover the entire image area.
Two ways to to handle the next step. Cutting out - or the use of the eraser. While the latter is faster - the former is more accurate.
Start to the left and work your way to the right and cut out the area that requires to be sharp and crisp. Once done, select "Inverse" in the selection menu and hit delete.
If cutlines are visible, use the blur tool, to smooth them out - and that should be it.
Now why the blurred inverse layer? Thats a tool for "just in case". If there are elements, that are unblurred but should be blurred - you can used that layer to achieve it - with the same steps as described in the previous layer.
Cheers
kjpweb
"Life is not measured by the breaths we take, but
by the moments, that take our breath away!"

TwoPynts posted Thu, 16 November 2006 at 3:09 PM

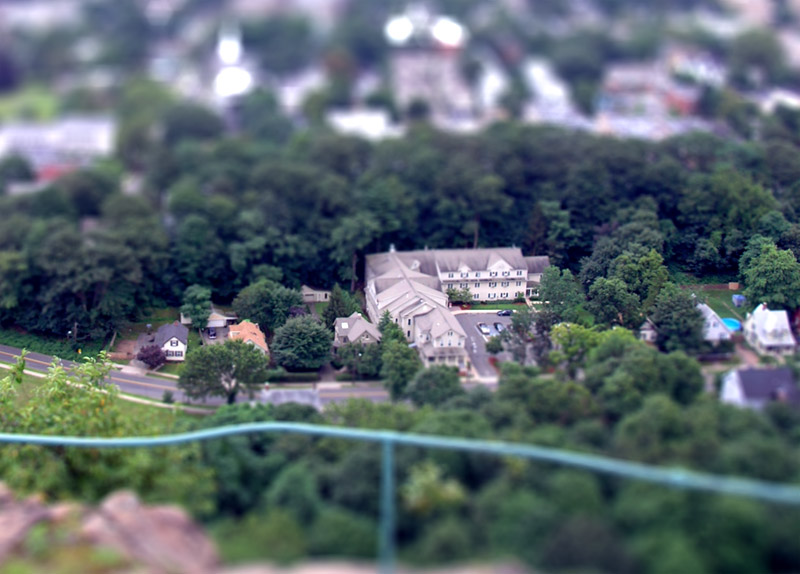
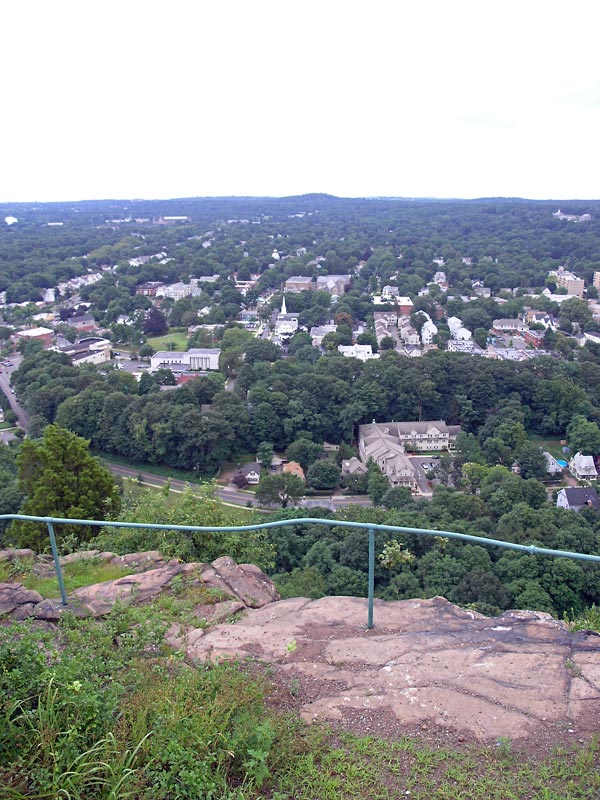
Nicely done...you came up with a solution to the slight blurring that takes place even before you reach the tip of the Capitol. Great work...now I need to find some new images to work from. Some other thoughts, if you want to avoid the problem illustrated above, the focal area should be in a rather uniform area of the image with no tall buildings. That can be a little boring though. Secondly, if the scene has too much detail, it is hard to make a convincing fake model. See my two attempts. I will probably crop in on these to give it a bit more of a "model" look.
Kort Kramer - Kramer Kreations

