CrazyDawg opened this issue on Aug 19, 2008 · 6 posts
CrazyDawg posted Tue, 19 August 2008 at 11:39 PM

After applying your morph to your firgure make sure you have the figure selected, go to View> Tabs>Surfaces. Now once you have the Surfaces window open here is the fun part.
You need to select eyesocket and then scroll down until you find toenails if the morph as these in the surface list. Holding down the shift key click on the toenails...this will then highlight everything from eyesocket to toe nails.
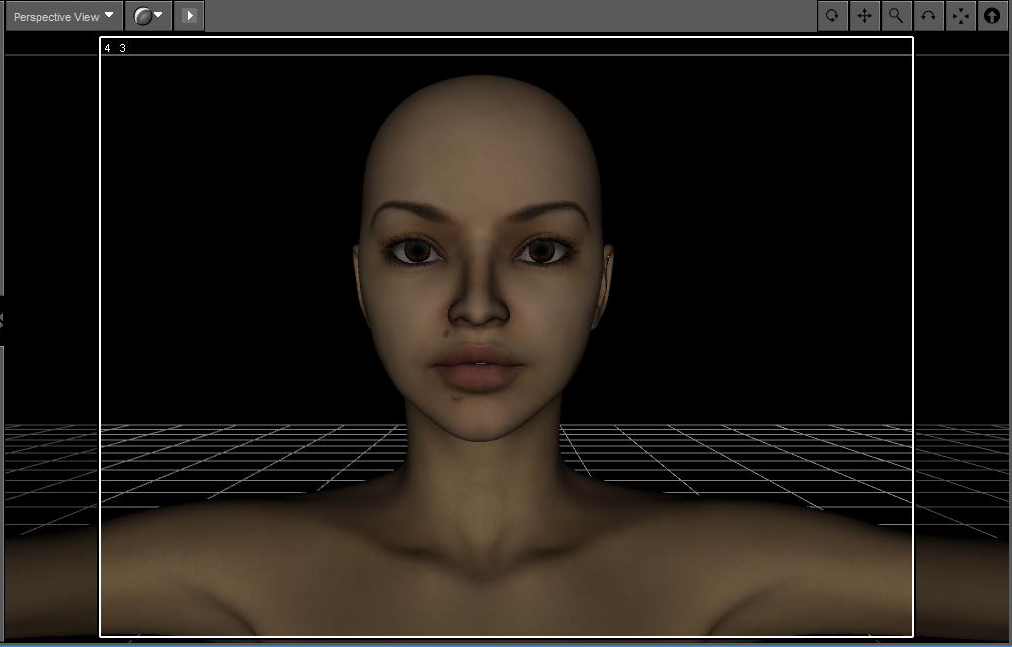
Once you have done the above click on the Diffuse color and pick white color in the color changer, set it and then click ok....and you will see the skin tone is no longer bluish but a normal pinkisj skin tone..
I have posted two images, first is with a morph just loaded, second i changed the skin tone color in with what i had highlighted.
I hope my little tut helps those thats been having a frustrating time with this minor problem..
CD
(No problem to big or small, if i can solve it i will)
I have opinions of my own -- strong
opinions -- but I don't always agree with them.
CrazyDawg posted Tue, 19 August 2008 at 11:40 PM

I have opinions of my own -- strong
opinions -- but I don't always agree with them.
RHaseltine posted Wed, 20 August 2008 at 8:24 AM
Morphs change shape - you are talking about material settings with a texture set.
If you do get odd colour casts it's worth checking to see if there are DAZ Studio material presets (.ds or .dsb files) as well as the Poser mat poses (,pz2/.pzz), as the former will usually give better results (occasionally they won't as no adjustments have been made). The actual materials listed will depend on the figure - you will probably want to select all of the skin surfaces plus lips, nipples, eyesocket, lachrimal and possibly the nails. There are other chnages you can make - if you go to the Advanced tab of the Surfaces palette and scroll down you can change the Lighting model setting to Skin for the skin surfaces (in which case you may want to keep a touch of blue or cyan in the diffuse colour as it can give a bit too much red) and perhaps to one of the Glossy settings for the nails and eye surfaces.
JackieD posted Wed, 20 August 2008 at 7:53 PM
A quicker solution is to add a spotlight, lower the intensity, and change its color. A very light (ie white) blue will tone down orange skin tones, and and whitish orange will tone down overly blue tones.
CrazyDawg posted Wed, 20 August 2008 at 8:25 PM
thank you both for sharing your ways. i'll try them both later.
I have opinions of my own -- strong
opinions -- but I don't always agree with them.
cuba posted Thu, 21 August 2008 at 12:25 PM
I can also recommend downloading Lakys' Universal Skin Material Preset. It saves you from having to change all the surface settings manually.