
anupaum opened this issue on Dec 13, 2025 · 9 posts
anupaum posted Sat, 13 December 2025 at 11:16 AM
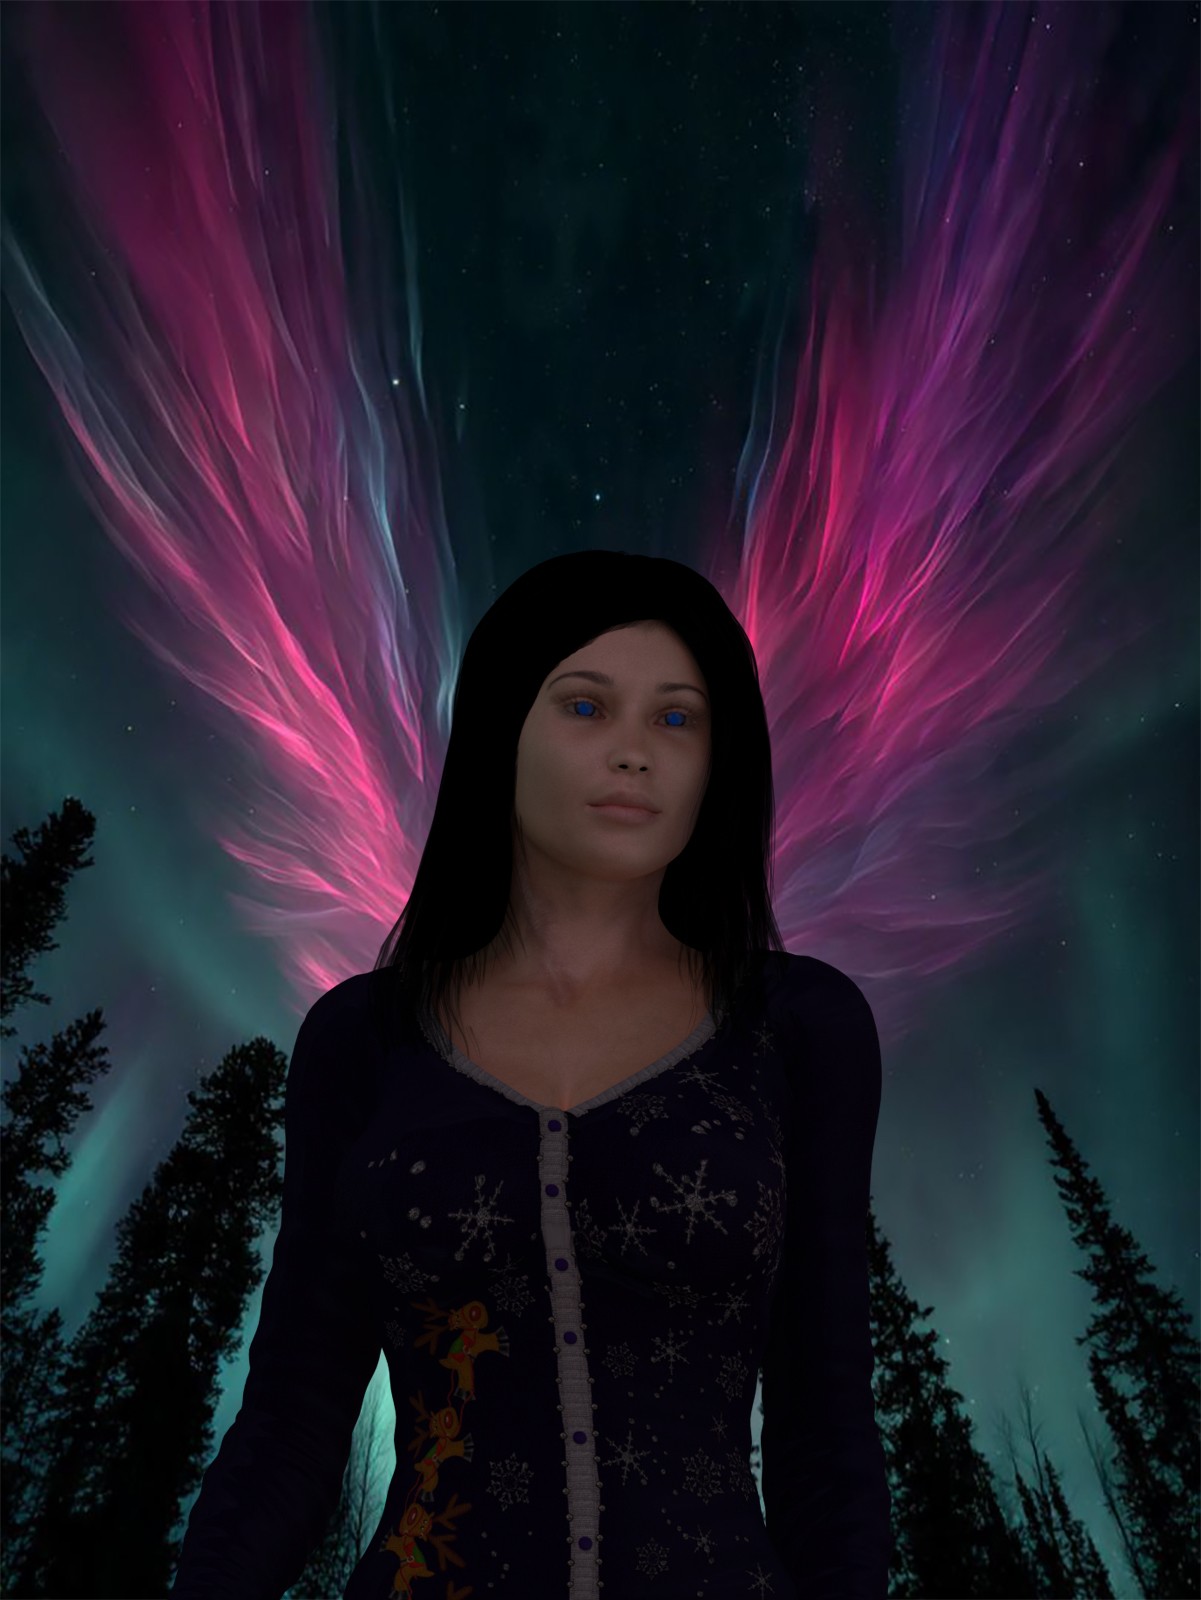
The latest Poser newsletter described how to properly use the new HDRI background feature, so I thought I'd give it a try. This is the result.

MeInOhio posted Mon, 15 December 2025 at 9:18 PM
After I saw this, I looked for the tutorial on how this worked. And then I tried it. This was my result
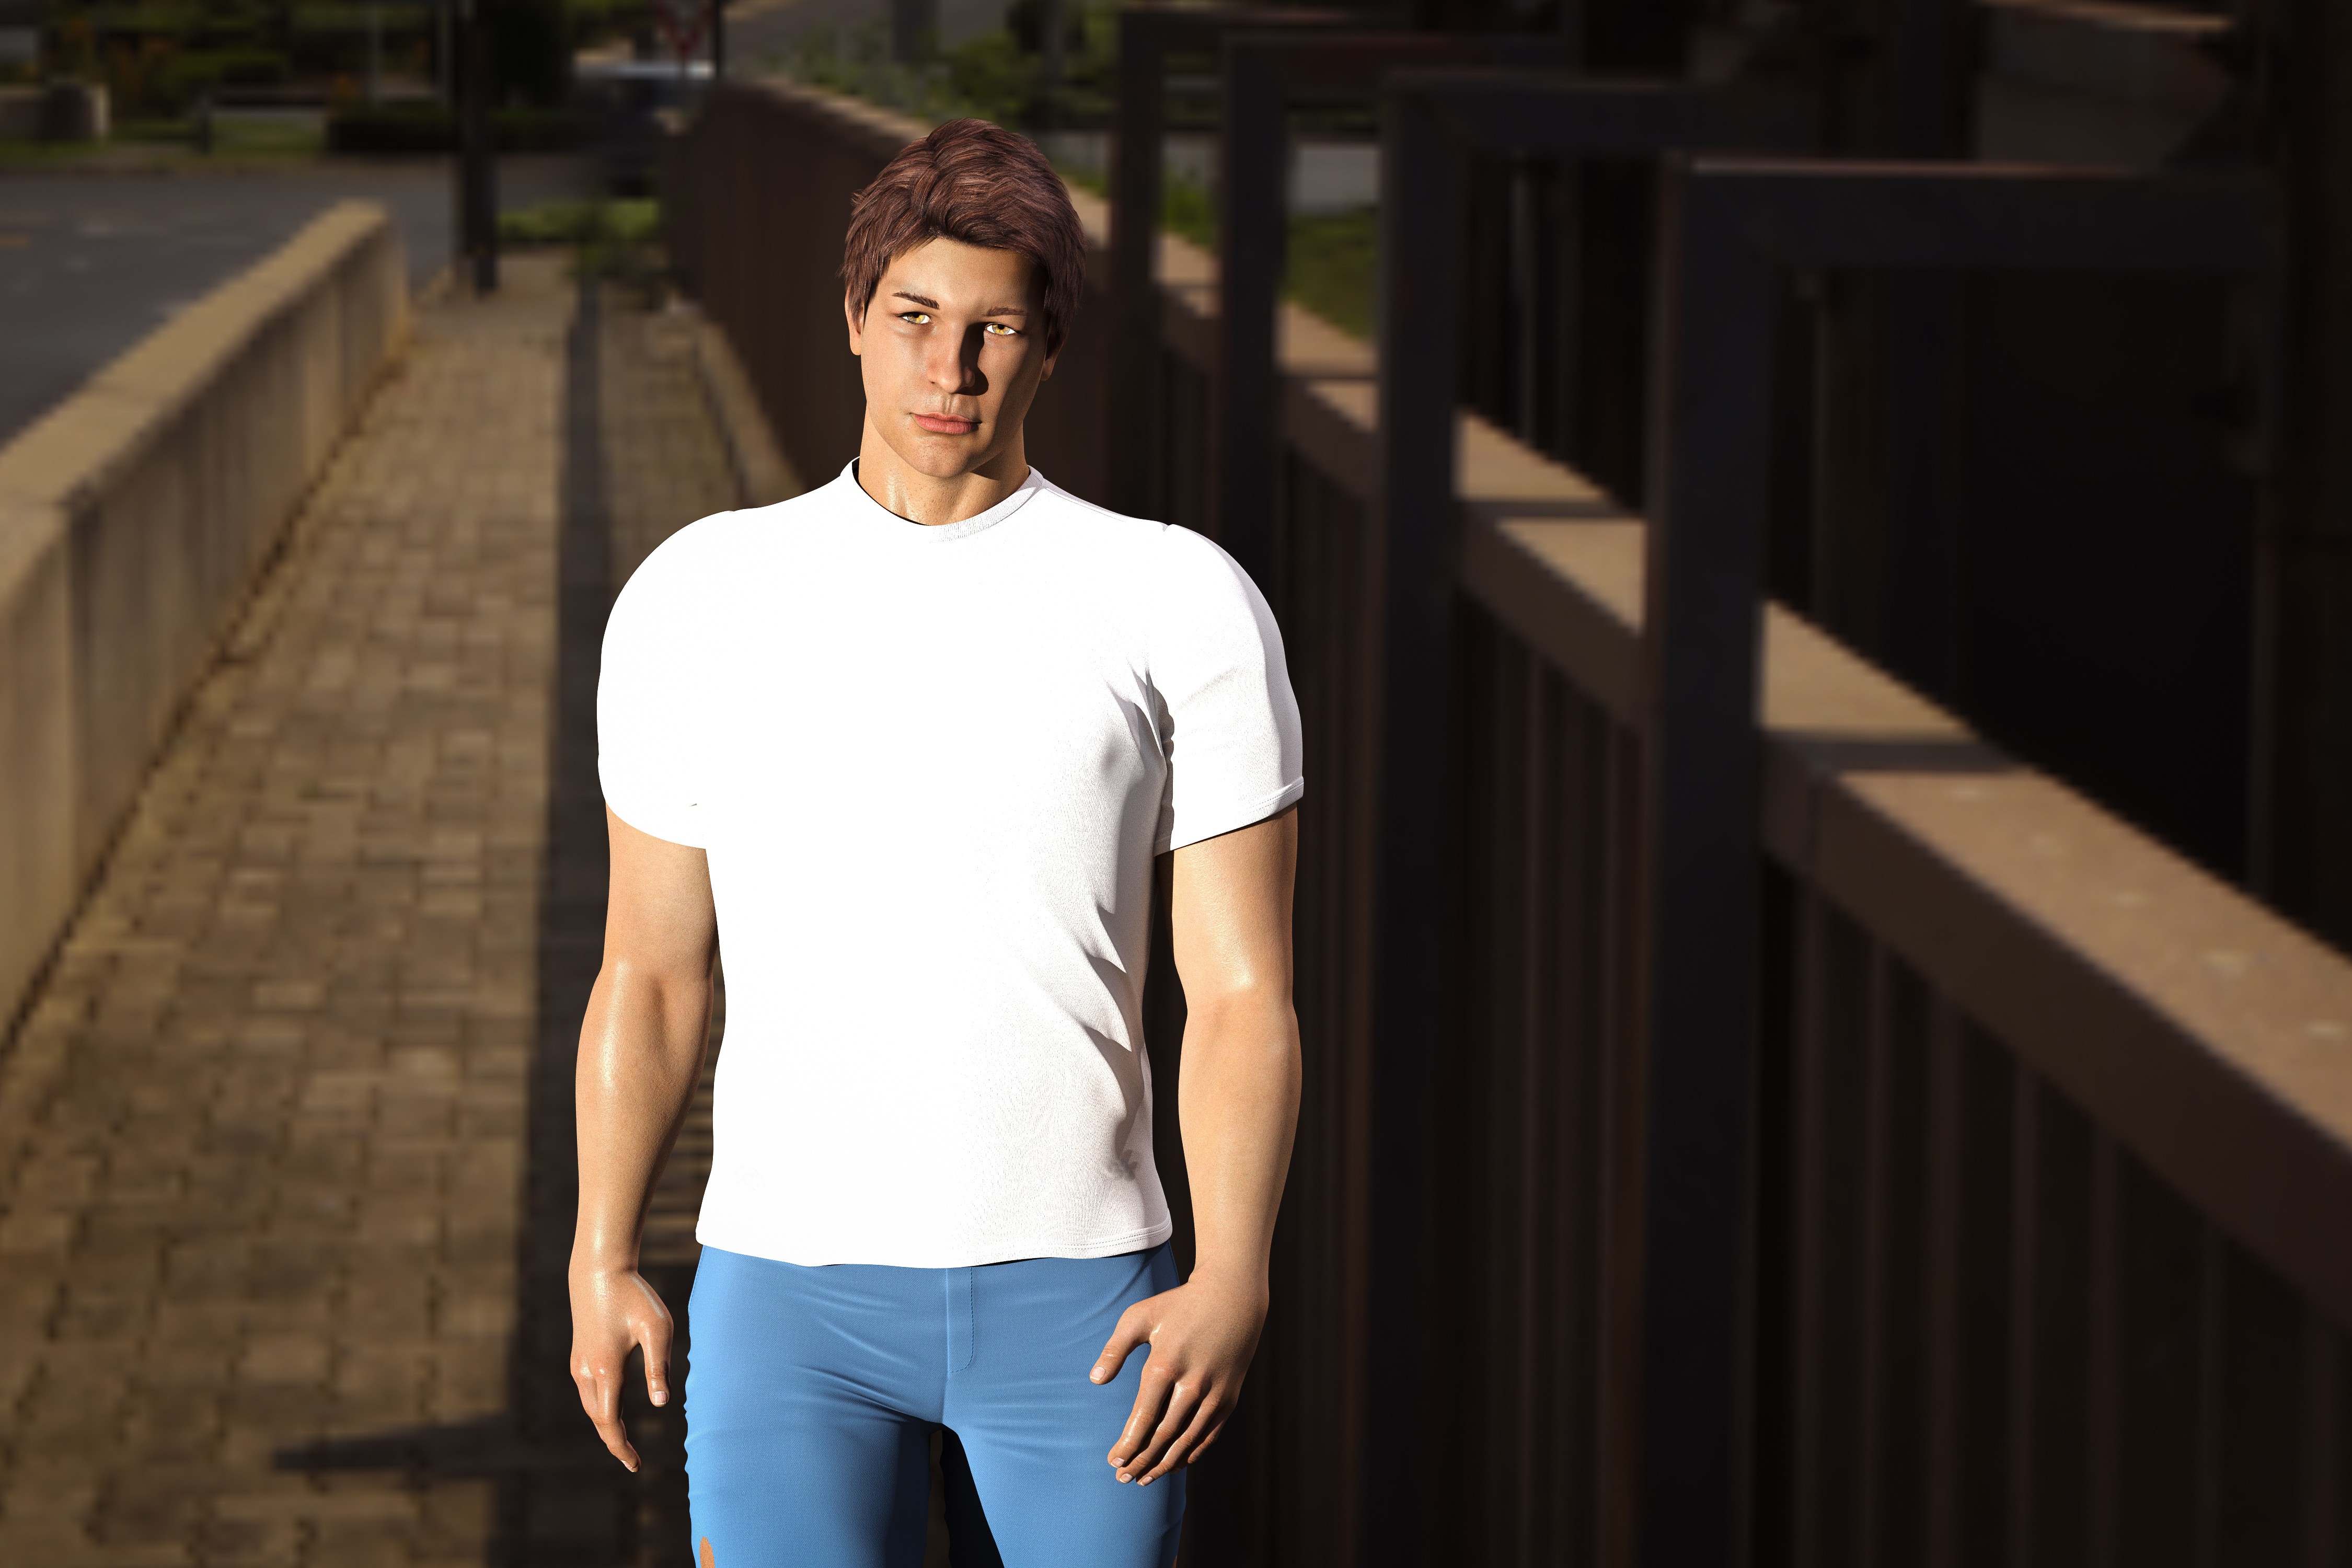
Some observations from me.
1. I had to load an empty scene to get it to work. If I loaded a scene that had things in it, the background was grayed out when I went into the material room, even if I turned off visibility of the ground.
2. Maybe it was just the HDRI I chose, but it looked a little washed out and didn't see a way to modify it.
3. The figure had no light on it in the Pose room. I had to render to see how he looked. He did have some light on him. But I wanted more. I also wanted this view of the HDRI, so I added a distant light and adjusted it.
Maybe I'm doing something wrong, but those were the challenges I encountered.
anupaum posted Mon, 15 December 2025 at 10:09 PM
I don't think it does a particularly good job of matching the light to the figure, but maybe I'm biased by my results in Photoshop.

infinity10 posted Mon, 15 December 2025 at 10:24 PM
I used this setup maybe 2-3 years ago in a Poser 12 environment, so maybe it may help...
https://sites.google.com/view/grumpyoldfartssite/my-3d-cg-tips-and-how-tos#h.w21dovvyclc1
For best results, use a bracketed HDRI with multiple Exposure Values.
Eternal Hobbyist
anupaum posted Mon, 15 December 2025 at 10:31 PM
For best results, use a bracketed HDRI with multiple Exposure Values.
Can you please explain what that means?

hborre posted Mon, 15 December 2025 at 11:36 PM
It is worth experimenting with a combination of lights and HDRI to strike a pleasing balance in your renders. Offsetting the illumination too much in either direction will make the scene appear unnatural. Find the best high-quality HDRI, 4K or higher, if the app can handle it. Use images with a full tonal range. There may be instances where images skew the color balance, so be prepared to provide adequate lighting to counter the imbalance.
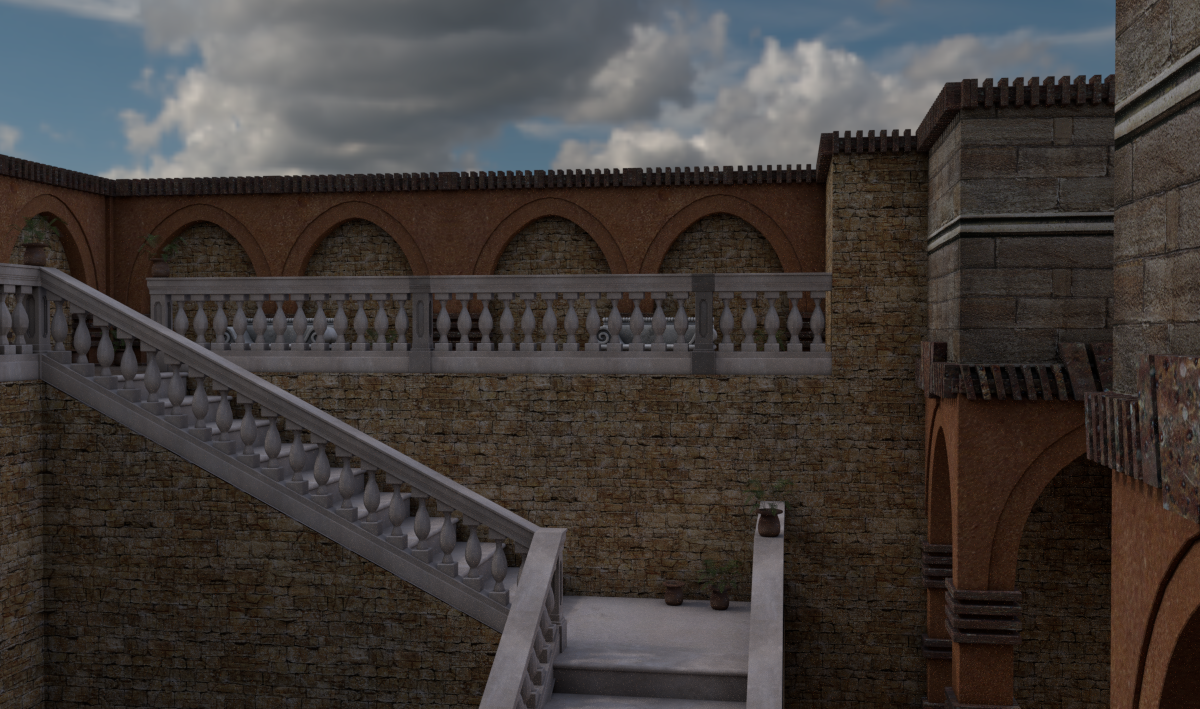
The Superfly render below demonstrates a scene lit with an HDRI and an infinite light set at 10% intensity and shadows to 50%. The material shaders for the model were quickly converted to PBR, and Ambient Occlusion was added to enhance additional shadowing. I used a Blackbody node to convert the lighting temperature to 10,000 Kelvin, a more natural way to introduce realistic lighting to Superfly renders.
anupaum posted Tue, 16 December 2025 at 9:47 AM
That's lovely!
infinity10 posted Tue, 16 December 2025 at 11:22 AM
infinity10 posted at 10:24 PM Mon, 15 December 2025 - #4502316For an HDRI to effectively light up a scene, it should be a composite of the same image (in one file) taken at different exposure values (EVs). Multiple-EV HDRIs will therefore illuminated the scene without any need for additional scene lights. The quickest way to tell if an equirectangular HDRI file is a single-EV file is when the image is used as 360 background but the scene is still dull and poorly lit. It must to be equirectangular, because it maps onto a spherical dome to enclose the scene. An equirectangular image has proportions of Width: Height in the ration 2:1.For best results, use a bracketed HDRI with multiple Exposure Values.
Can you please explain what that means?
Eternal Hobbyist
anupaum posted Tue, 16 December 2025 at 1:27 PM
Thank you!