Mon, Sep 23, 10:25 PM CDT

Renderosity Forums / The MarketPlace Wishing Well


Welcome to the The MarketPlace Wishing Well Forum

Forum Moderators: Staff

The MarketPlace Wishing Well F.A.Q (Last Updated: 2024 Sep 21 3:40 pm)

Have an idea for a MarketPlace product? Would you like to let the MarketPlace Merchants know?
This is the place!

Make sure you check The Product Showcase Forum and The Product Showcase Art Gallery.


Checkout the Renderosity MarketPlace - Your source for digital art content!


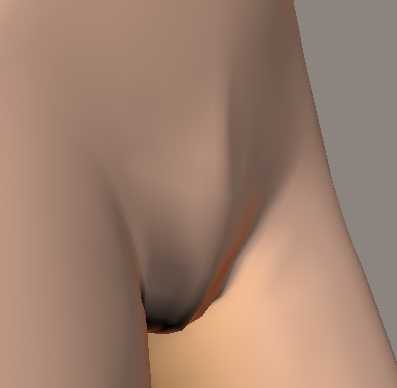
Subject: The bulge morph tutorial. Read this if you are tired of asking for morphs.


dueyftw ( ) posted Wed, 08 November 2006 at 1:00 AM · edited Sun, 22 September 2024 at 10:21 PM

Content Advisory! This message contains nudity

file_358910.jpg

Down load wings, its free.

I'm doing for Luke 3

  1. Export only hip to a wavefront obj file, single frame, by unclicking universe then clicking hip.
  2. When this window comes up make sure that 'As Morph Target (no world transformations) is clicked
  3. Import to wings as an obj. file It will be tiny and off center. Zoom in by the mouse wheel. Then click the pyramid far to the right, then on the hip. Now right click and select move. Select y but don't move the mouse at all, hit the tap key. Try -.2 to -.5. You want the hip in the center of the yxz plane. If you go too far click edit and undo. So if you went down to far, bring the hip back up and try again.
  4. REMEMBER the amount you move it by. Zoom in some more.
  5. Now click on any part of the gray bar the the pyramids, this unselect everything. Then the far left pyramid.
  6. Select the center point of where the bulge will start, then click “+” to expand the area of the morph.
  7. Next move the selection a small amount with the mouse by right click, move, normal and left click to stop. Shrink with the '-' key and move a little more. Add or subtract points by clicking on them so when you have the shape of the bulge that you want.
  8. Select all of the hip by changing to the far right pyramid, then the one next to it. Change the top and inner thighs to blue. (or unslecting them)
  9. Now move the hip back, to where it was imported. ( don't skip this step)
  10. Export as obj. file
  11. Import under the object tab in poser 'Load Morph Target'


Elfwine ( ) posted Thu, 09 November 2006 at 1:15 AM

Thank you, dueyftw, for posting this mini tut. I shall give it a try. 😄

 Don't sweat the petty things, and don't pet the sweaty things!  ; )


dueyftw ( ) posted Fri, 10 November 2006 at 7:06 AM

If you are having problems post here, and I will try to help.

Dale


josema8 ( ) posted Sat, 25 November 2006 at 5:49 AM

Thanks, dueyftw. I had to learn long time ago how to set a bulge morph for clothing as a first 3D lesson...

Most of merchants forget to put a bulge on male clothing (in the rare case they set some male clothing), and I was really fed up with dealing eunuch characters. And well, asking things here for merchants has no effect, only V3 and Aiko rule on this community...


dueyftw ( ) posted Sat, 25 November 2006 at 7:51 AM

file_360477.jpg

Morph’s can be used for all sorts of effects. Here one that emulates socks for preschool Vicki. Now if I only knew how to save it as a morph target  and not the original mesh, I would post in the free section.

Dale


Privacy Notice

This site uses cookies to deliver the best experience. Our own cookies make user accounts and other features possible. Third-party cookies are used to display relevant ads and to analyze how Renderosity is used. By using our site, you acknowledge that you have read and understood our Terms of Service, including our Cookie Policy and our Privacy Policy.