Renderosity Forums / Bryce
Welcome to the Bryce Forum
Forum Moderators: TheBryster
Bryce F.A.Q (Last Updated: 2025 Jan 04 3:16 am)
Subject: For FranOnTheEdge - textures in Bryce.


Measure
your mind's height
by the shade it casts.
Robert Browning (Paracelsus)
http://franontheedge.blogspot.com/
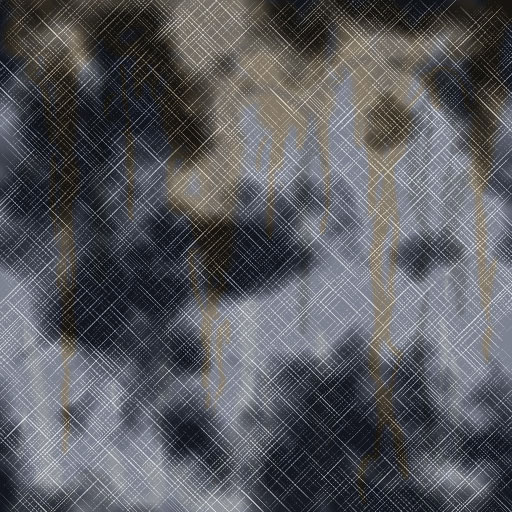
"There's just one thing though...." Yeeeeeeeessssss? Cool image, BTW!! Seems ya got it without any trouble. Sorry - no bigger images - I actually made them 512x512, but I had to save them at Quality:8 jpegs so they'd upload to RR. That would explain the fuzziness. I'll gladly remake them - It was quick and dirty and fun - and VERY easy to duplicate again since I remember what I did in the first place. Sooooo... How do I send you the images without compressing them? I don't know how to upload stuff for the freebies section yet - got a bunch of stuff I'd put up if I knew how. Just haven't had time to investigate it yet. -Lew ;-)
You could zip them, that often reduces things quite a bit. I've I.M.'d you my email address. Thanks. "Cool image, BTW!! Seems ya got it without any trouble." Thanks. Well everything you told me I HAD done before, it's just a matter of knowing what YOU did THIS time that made reproducing it easy. Fran
Measure
your mind's height
by the shade it casts.
Robert Browning (Paracelsus)
http://franontheedge.blogspot.com/
Sorry everyone who's reading this - meant to put this in the Bryce Forum, but did it pretty quick and just put it in the Photoshop Forum since that's where our conversation started in the first place: http://www.renderosity.com/messages.ez?Form.ShowMessage=2490796&Form.sess_id=55780595&Form.sess_key=1134478246 Sorry for any confusion. -Lew ;-)
So... how did you make the images?
Measure
your mind's height
by the shade it casts.
Robert Browning (Paracelsus)
http://franontheedge.blogspot.com/

Not sure what this means in no 2: "Filter>Blur>something fairly heavy (exact number?) to make it pretty fuzzy" What type of blur do you mean? No3. I really don't understand that part at all. How do you get that second box in the layer next to the box with the rectangles? Come to that what IS that box with the rectangles? Why doesn't it have a name like "Layer2"? Why is the layer ABOVE called "Layer2" And 5. I can't find "Blue w/Rust color "dripping"" anywhere... and where do I do the "Colour Mode" bit? Or doesn't that matter? I haven't actually tried any oth the rest - but I can see I'll have similar problems with no 6 and the "added Black "dripping" and White "collecting" at the bottom." - which I have NO idea how to do at all. I THINK I might be able to manage the rest of it, but until I have the first part figured out I won't know for sure. I'm trying to do the same as this, plus another one where I'm varying stuff, but I need to figure out how you're doing ALL the bits before proceding with either.
Measure
your mind's height
by the shade it casts.
Robert Browning (Paracelsus)
http://franontheedge.blogspot.com/
Oops! Sorry - forgot you were kinda new to PS. #2 - that blur filter was Filter>Blur>Guassian Blur - I think I made it something like 10 - something really out of focus, but not SO blurred that it has no contrast. To create #3, click on the little icon at the bottom of the Layer stack that is a diagonally split B&W circle - that is to create what is called an Adjustment Layer. Choose Brightness/Contrast. Up will pop the dialog box for you to lower the contrast, then click Okay - it creates a new layer that adjusts everything BELOW it. WHY, you might ask? Becasue you can make all kinds of adjustments with a seperate Adjustment Layer, and it doesn't ACTUALLY affect the layers below, that way you can change it or delete it later if you don't like it, and you haven't hurt the work below. It gives you incredible editing capabilities LATER in your work. #5 question - I just filled the layer (paint bucket would be easy for you) with a medium blue (you san see the general color I used in the Layer stack). I then chose a rust color and painted the globby streaks coming down. And the Color Mode - look in the image above - look at the upper left of the Layer Stack (even though the Crosshatch layer is selected) and see that it reads: "Soft Light"? THAT is where you change a layer's "mode". For #5, choose "Color" (it's almost ALL the way at the bottom of the list). #6 - duplicated #5 (which is why it says "copy"), changed it to Overlay Mode, hit "D" so my colors would be B&W default, and got my brush and painted black streaks from the top, and white streaks from the bottom. Yeah, I kinda machine-gunned through it knowing what everything meant - but didn't slow it down taking into account that YOU didn't know what it all meant. Sorry about that one. Hope that clears some things up- -Lew ;-)
Thanks, I'll buzz off and try all that now...
Measure
your mind's height
by the shade it casts.
Robert Browning (Paracelsus)
http://franontheedge.blogspot.com/
Privacy Notice
This site uses cookies to deliver the best experience. Our own cookies make user accounts and other features possible. Third-party cookies are used to display relevant ads and to analyze how Renderosity is used. By using our site, you acknowledge that you have read and understood our Terms of Service, including our Cookie Policy and our Privacy Policy.


In Photoshop, I made this in about 5 minutes just for an example - this is not a perfect texture, just something to work with that will make things obvious. Just make a COLOR image, and a BUMP image - this is all you need for this tut.