Renderosity Forums / Poser - OFFICIAL
Welcome to the Poser - OFFICIAL Forum
Forum Coordinators: RedPhantom
Poser - OFFICIAL F.A.Q (Last Updated: 2024 Dec 02 5:01 am)
Subject: Poser 9 - mesh as a light - how to do it ?
It might be worthwhile to try the "pulsing" for the rescue sign (I applied pulse to the light in the pipe chase chamber). Check your forum mail for the zip for your CCWall3 beta IDL mods.
If anyone wants try a new link for the simple demo panel, here it is but I don't know if my 4shared album is working. This zip is only 5.36 MB because I realized that the flame matrix image was an uncompressed PNG and weighed in at 29 MB!
Click image to -hopefully- start download
. If 4shared pops up a web page saying that the "file has been deleted or violated TOS", then forum mail me with an e-mail addy.
As of now, I just tried the hotlink and it's working.
Poser 12, in feet.
OSes: Win7Prox64, Win7Ultx64
Silo Pro 2.5.6 64bit, Vue Infinite 2014.7, Genetica 4.0 Studio, UV Mapper Pro, UV Layout Pro, PhotoImpact X3, GIF Animator 5
The hotlink problem may have been due to me using spaces, underscores, hyphens, et cetera in the filenames. I have renamed the zips and re-uploaded them. These are the new links:
Sci-Fi IDL material demo panel - SciFiDemoPanel
P9 IDL light kit, for John Hoagland's Viper MkII
Apologies for my incompetence!
Poser 12, in feet.
OSes: Win7Prox64, Win7Ultx64
Silo Pro 2.5.6 64bit, Vue Infinite 2014.7, Genetica 4.0 Studio, UV Mapper Pro, UV Layout Pro, PhotoImpact X3, GIF Animator 5
Fascinating isn't it? I was going to speak about this, but I really don't have time.
What does that say about the HDR image you started with? Can you think of a case where the JPEG version will have to come out differently?
There are actually three important differences you have to think about, and realize that not all matter all the time:
-
Direct viewing - what do you see when the camera "sees" the sphere
-
Indirect viewing (reflections) - what do you see when a reflection, particularly a weak one, is showing you the image
-
Lighting - what impact does dynamic range and precision have on diffuse lighting
I'll give you a hint - on item #3, almost nothing - zip - nada - doesn't make any difference - 8-bits is enough to carry the day, so long as you multiply it so that the peak value for sunny sky areas is way above 1.
Renderosity forum reply notifications are wonky. If I read a follow-up in a thread, but I don't myself reply, then notifications no longer happen AT ALL on that thread. So if I seem to be ignoring a question, that's why. (Updated September 23, 2019)
yes, #3 confirmed. I recall there was something analogous with light probes or IBL, where you (bill) and/or mec3d (catarina) showed that a lo-res image would suffice. in this one I multiplied the jpeg by 2.2 to get it to approx. the same brightness as the hdri (dosch-extreme-hi-res), which was 6250X3125 and in photoshop showed a range from (0,0,0) to <(20,20,20). it seems many of these hdri don't have a good range.
For those folks struggling with 4share, and with seachnasaigh's permission, I've added his freebies to my site. I've also downloaded his ccpanel demo, so I'll be trying to finish off the sci-fi set freebie over the next week. Nancy - thanks for posting those pics. Looks OK, though like the default Vue lighting, and other HDRI renders there seems to be a grey cast. All which says I'm not not real. In vue thats easy to fix by changing a setting from grey to slighlty off white, can the same be done in poser?
Pinky - you left the lens cap of your mind on again.
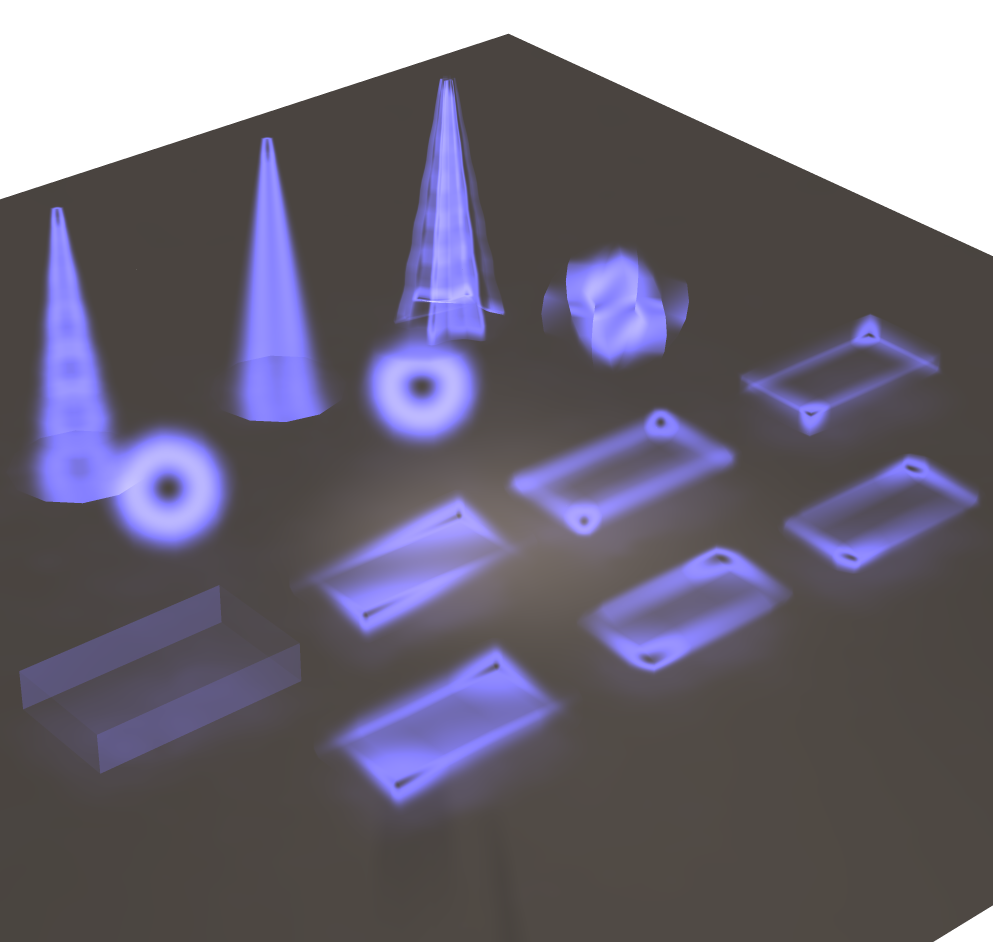
The separate piece organization looks right. But the shape of the aurae concern me. Are the aura meshes just symbolic, showing that they are a separate prop? The double edge blend node method for making an aura will perform terribly on those rectangular shapes. The cones would do well.
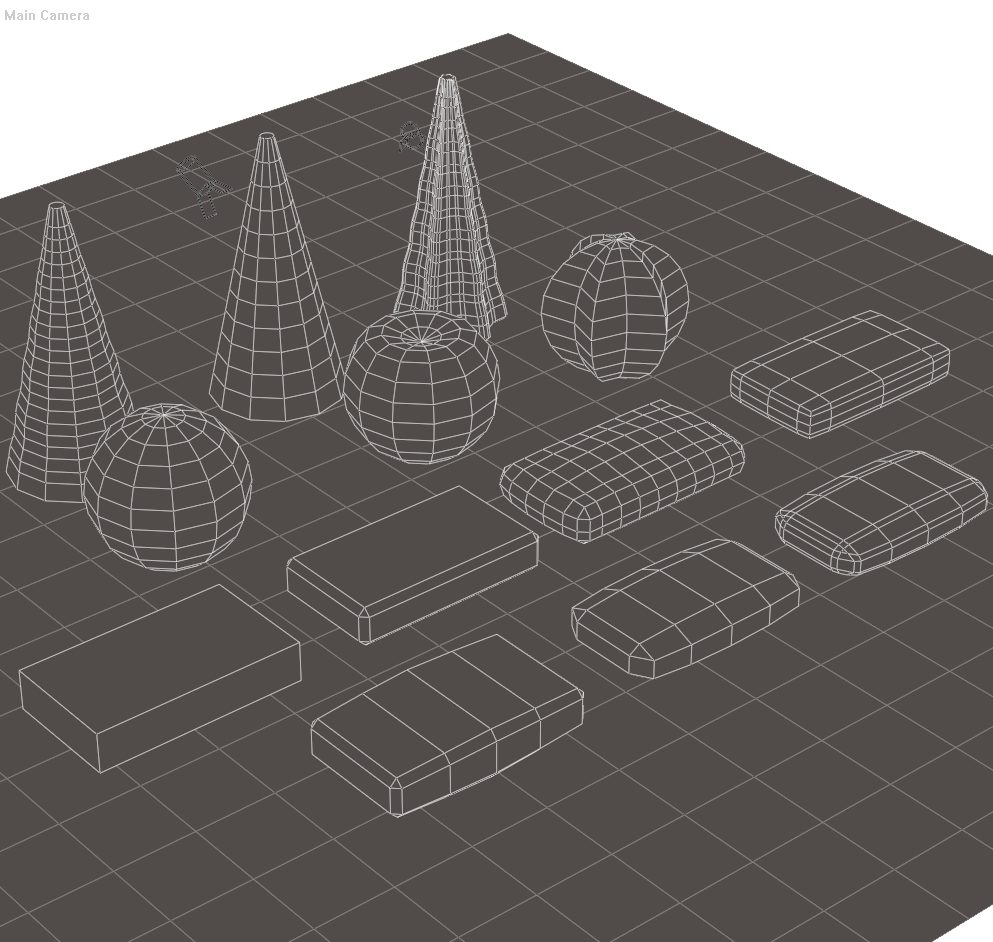
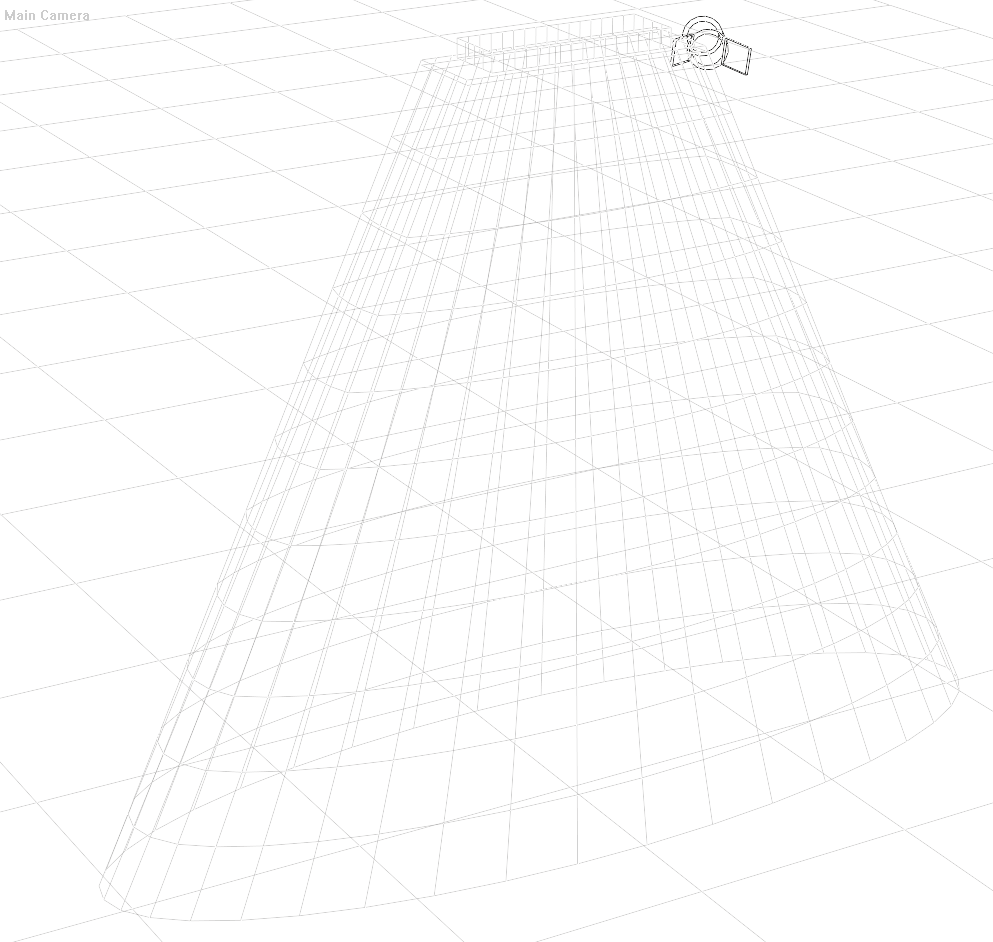
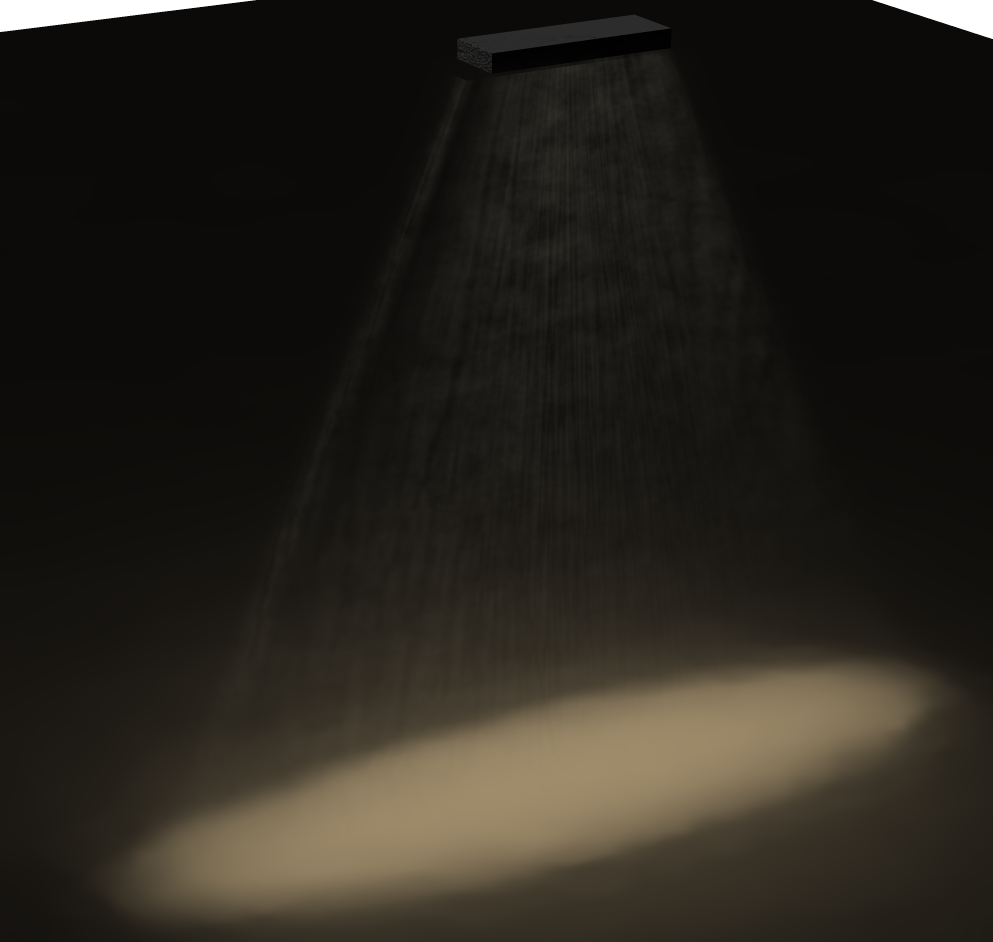
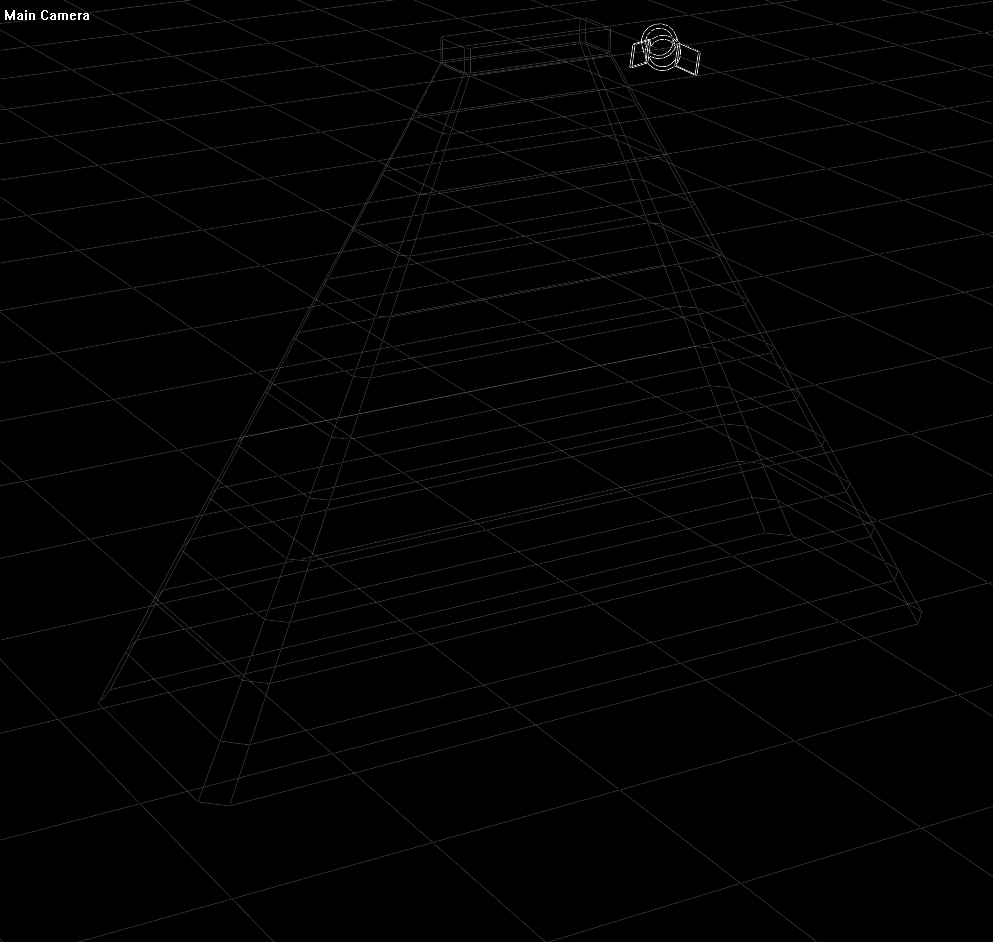
Look at the wireframes of these demo test shapes, and then look at the aura render. Notice the effect that shape has on the aura appearance, and note that the aura will always be smaller than the mesh, because the outer edges disappear.
~~~~~~~~~~~~~ [boring technical stuff] ~~~~~~~~~~~~~~~~~~~~
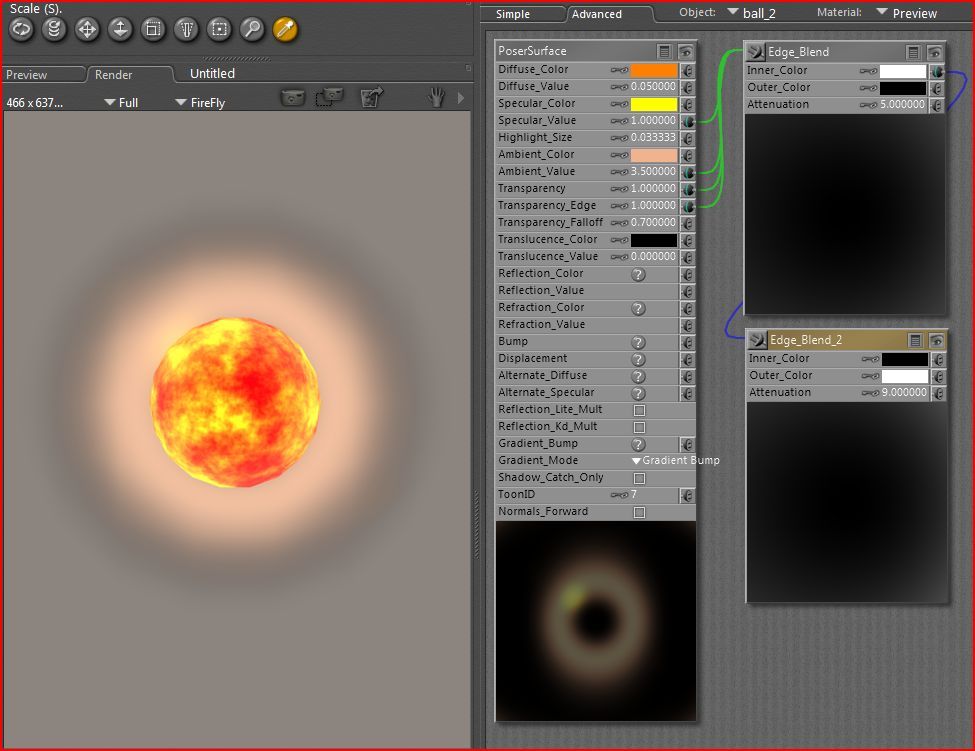
The second edge blend node makes areas of the mesh which are nearly orthogonal (as seen from the camera's perspective) fade out; on a sphere, this means the center will be transparent, and the sphere becomes visible as you look toward the outline edges.
The first edge blend node, daisy-chained into the second, makes areas which are highly oblique to the camera disappear. On the sphere, that means that the outer edges go transparent.
What's left? The areas which will show most strongly will be those which are halfway between - where the angle of the camera's view to that point on the surface is about 45 degrees.
So, the visible portion is a halo, with soft edges. Both the center and the perimeter of the sphere fade to transparent. The great benefit of this is that you don't see the shape of the mesh, and that it automatically adapts as you change viewing angle.
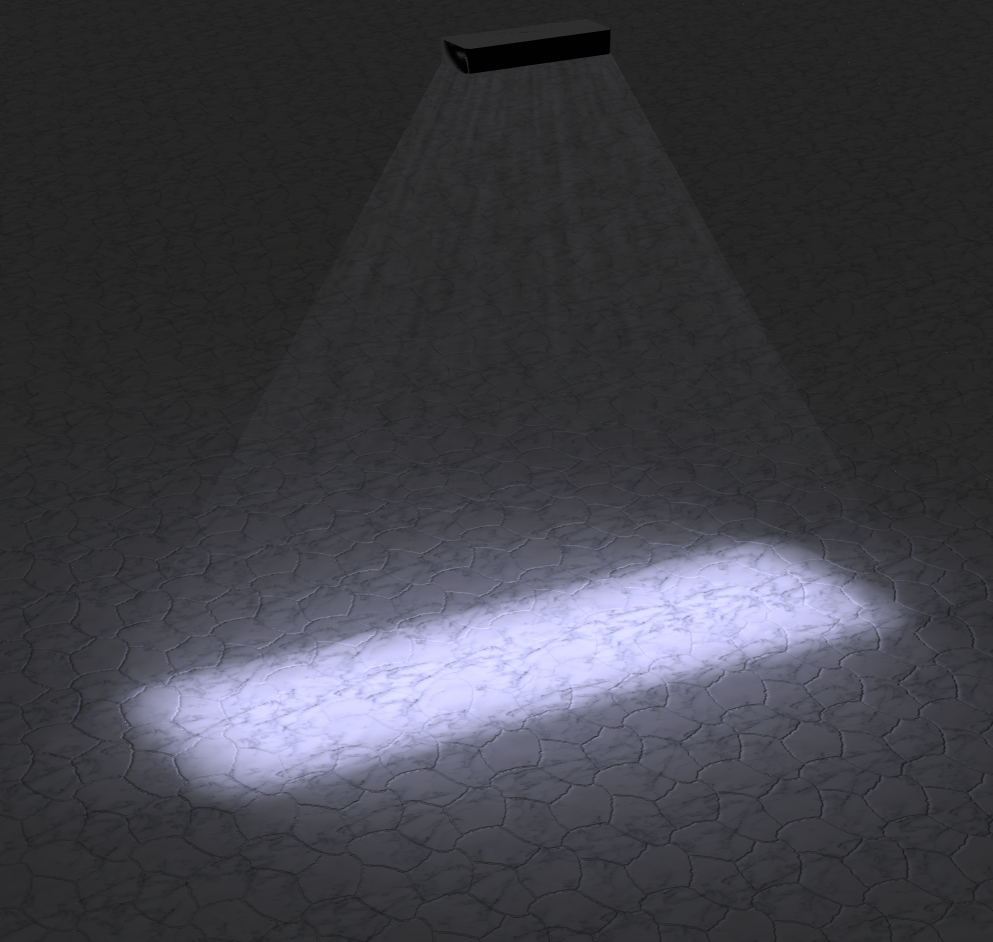
What you want for your circular ceiling light shafts is a cone (as you have). For the rectangular lights, the aura must match the rectangular shape right where it begins (at the light), but then soften the shape as you extrude outward to an oval cone. The easiest way to do this would be to create an ellipse near the floor. Note the number of sides. Now cut the edges of the rectangle (up near the ceiling) so its perimeter has the same number of edges. Select all the perimeter edges of both ellipse and rectangle, and bridge.
~~~~~~~~~~~~~ [/boring technical stuff] ~~~~~~~~~~~~~~~~~~~~
Here is such an aura; rectangle at ceiling, ellipse at floor:
If that doesn't make sense, send me the ceiling & floor, and I'll whip them up.
Ideally, a static prop will have four pieces:
- The main set; it will have the default properties, casts shadows, etc.
- The visible lights; these will not cast shadows. In the case of your extruded RESCUE letters, this would allow you to put an emitter inside the visible letters, which would be an improvement over the overlaid piece which I made. Not necessary for your ceiling lights, since they won't be in a position to cast awkward shadows, but it would make it easier to "turn off" the lights.
- The unseen IDL emitters; these will neither cast shadows nor be visible in camera.
- The aurae; these will not cast shadows.
Parent the VisLts, aurae, and emitters to the main prop.
Every moving part which has a light, such as your sliding door, will consist of the same four-prop arrangement.
Poser 12, in feet.
OSes: Win7Prox64, Win7Ultx64
Silo Pro 2.5.6 64bit, Vue Infinite 2014.7, Genetica 4.0 Studio, UV Mapper Pro, UV Layout Pro, PhotoImpact X3, GIF Animator 5
How about using the double edge blend method on the aura cones for the circular lights, and using ye olde transmapping for the aura of the rectangular lights? I tried this and it came out satisfactorily.
The haze can still be animated.
Poser 12, in feet.
OSes: Win7Prox64, Win7Ultx64
Silo Pro 2.5.6 64bit, Vue Infinite 2014.7, Genetica 4.0 Studio, UV Mapper Pro, UV Layout Pro, PhotoImpact X3, GIF Animator 5

Pinky - you left the lens cap of your mind on again.
The visible lights can be any shape. The emitters can be any shape (including strictly convex n-gons). The aurae should be shaped to fit at the light, but then segue into a "bubble" if using the double edge blend method. You can use square shapes if using the transmap method.
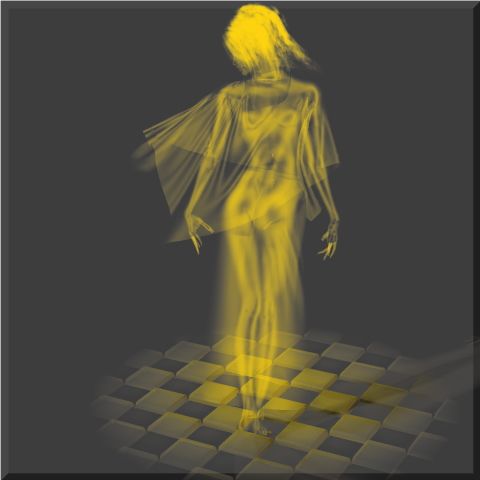
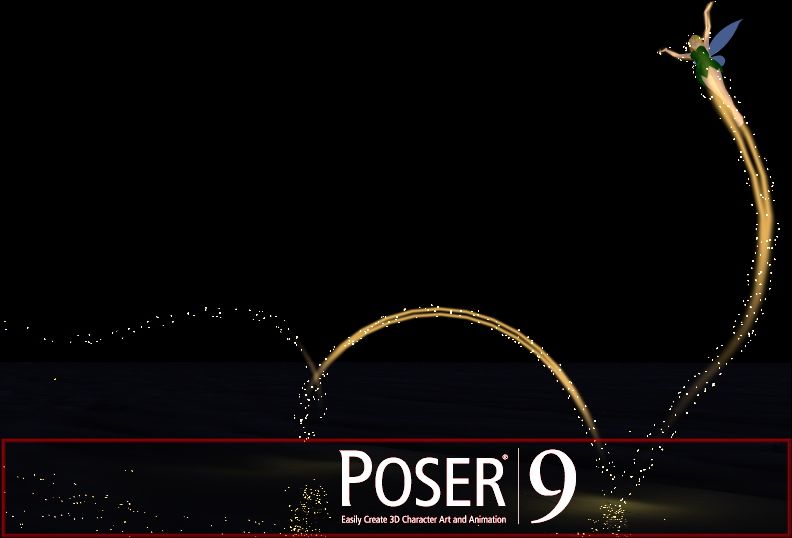
See my first post on this page for a "boring technical stuff" section discussing the double edge blend method for aura texturing. The mesh should be rounded, but it doesn't have to be a sphere, cone, or cylinder. Indeed, the shape can be quite complex. Here are examples of a simple shpere forming an aura around a fireball, an entire doll textured with an aura, and a form-fitted bubble encasing a doll (Posette) and trailing behind her.
Poser 12, in feet.
OSes: Win7Prox64, Win7Ultx64
Silo Pro 2.5.6 64bit, Vue Infinite 2014.7, Genetica 4.0 Studio, UV Mapper Pro, UV Layout Pro, PhotoImpact X3, GIF Animator 5
seachnasaigh - thanks for posting those I've gone back and edited the model a bit more after reading your post above. Needs some textures adding, so I'll work on that and post it tommorow if time permits. Still battling the bug a little, but still gotta work as well:( Dang real life :)
Pinky - you left the lens cap of your mind on again.
Darnit you guys! I'm trying to finish my work here and you guys got me glued to this thread :) lol. So much to learn here and I'm barely breaking Poser (thankfully I have P9) in simple material settings.
Hey, also thanks for the freebies, these are something I'm gonna be playing with and learning (when I finish my work) in the hopes of turning other things to lights. MrSparky (yea, I remember, not MrsParky haha), thanks also that you'll be giving your finished product out as a freebie, I'll be keeping an eye out :) Hope you feel better soon, buddy!
This thread bookmarked! Awesome job and discussions, guys!
...wolfie
![]() Heh, Heh. I'm also trying to finish other projects.
Heh, Heh. I'm also trying to finish other projects.
By the way, a basic philosophical reason that I tend toward the double edge blend node for making an aura: unlike basic transmapping, the double edge blend method leaves a transparent "hole" in the center, so that the light-casting item is clearly visible, and this soft-edged clear center follows the camera, so to speak. Thus, a candle flame can have a glow around it, yet the flame itself stands out clearly, regardless of the viewing angle.
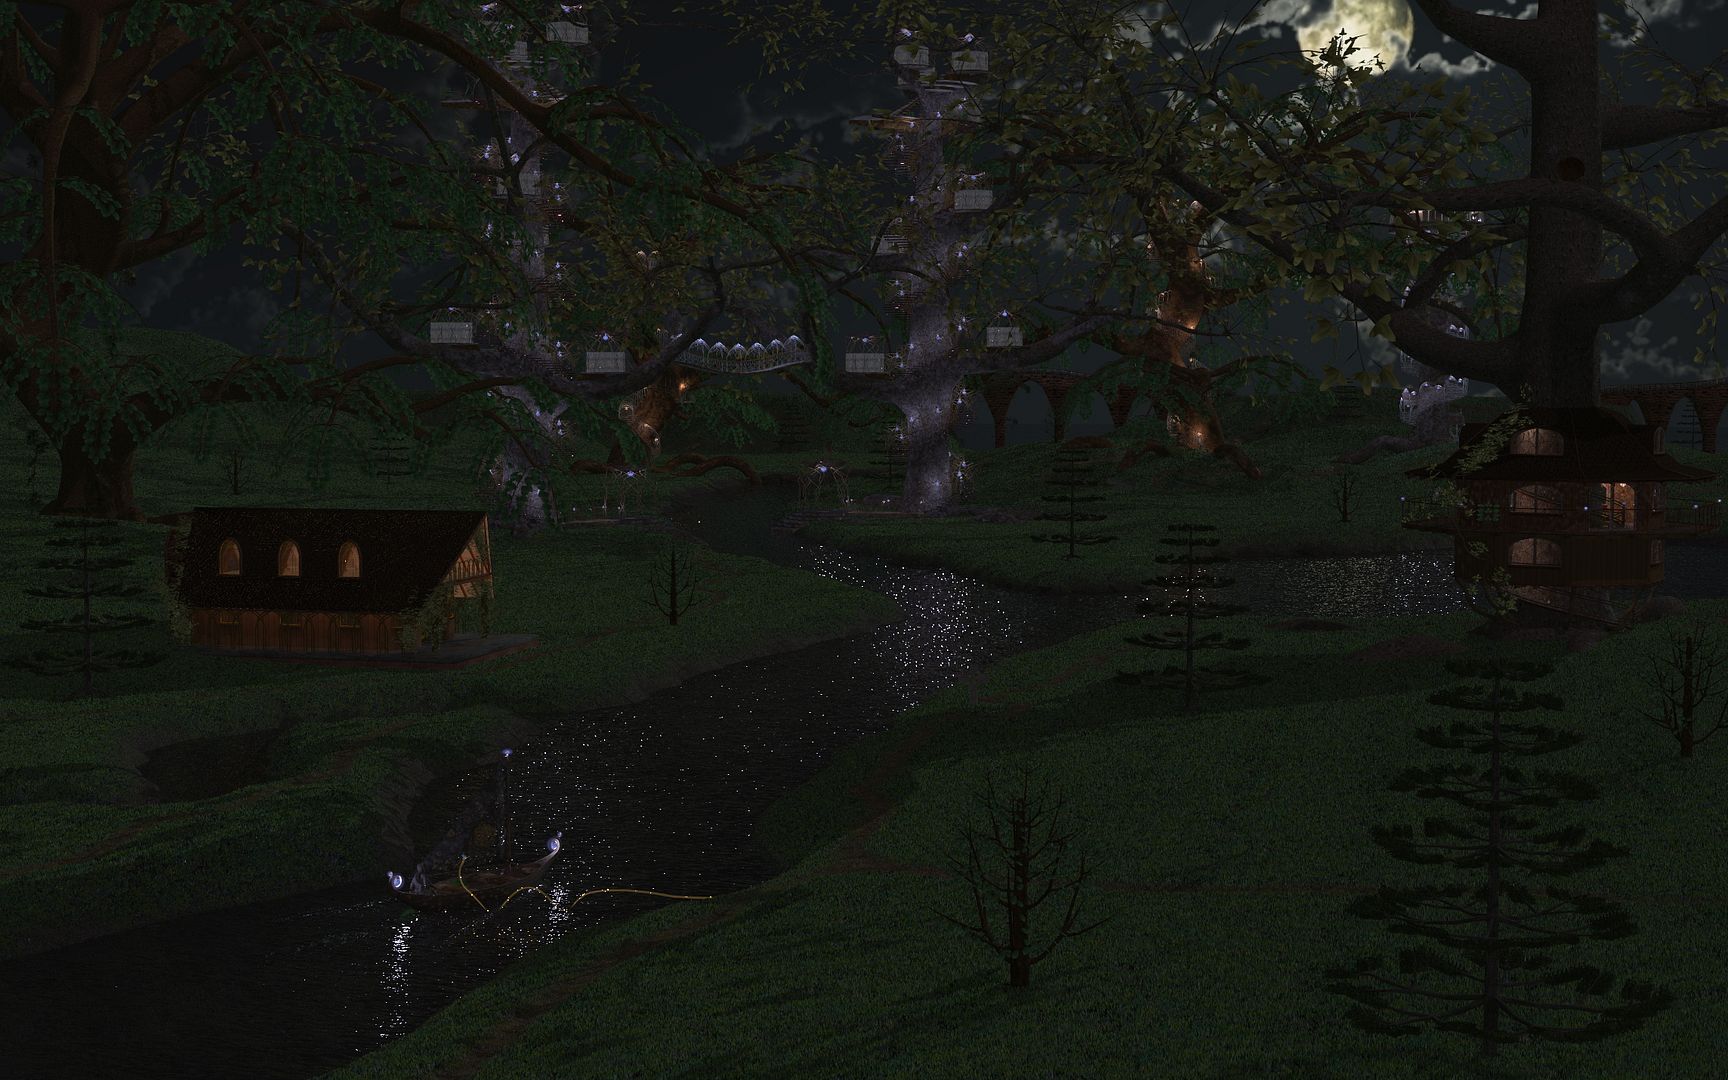
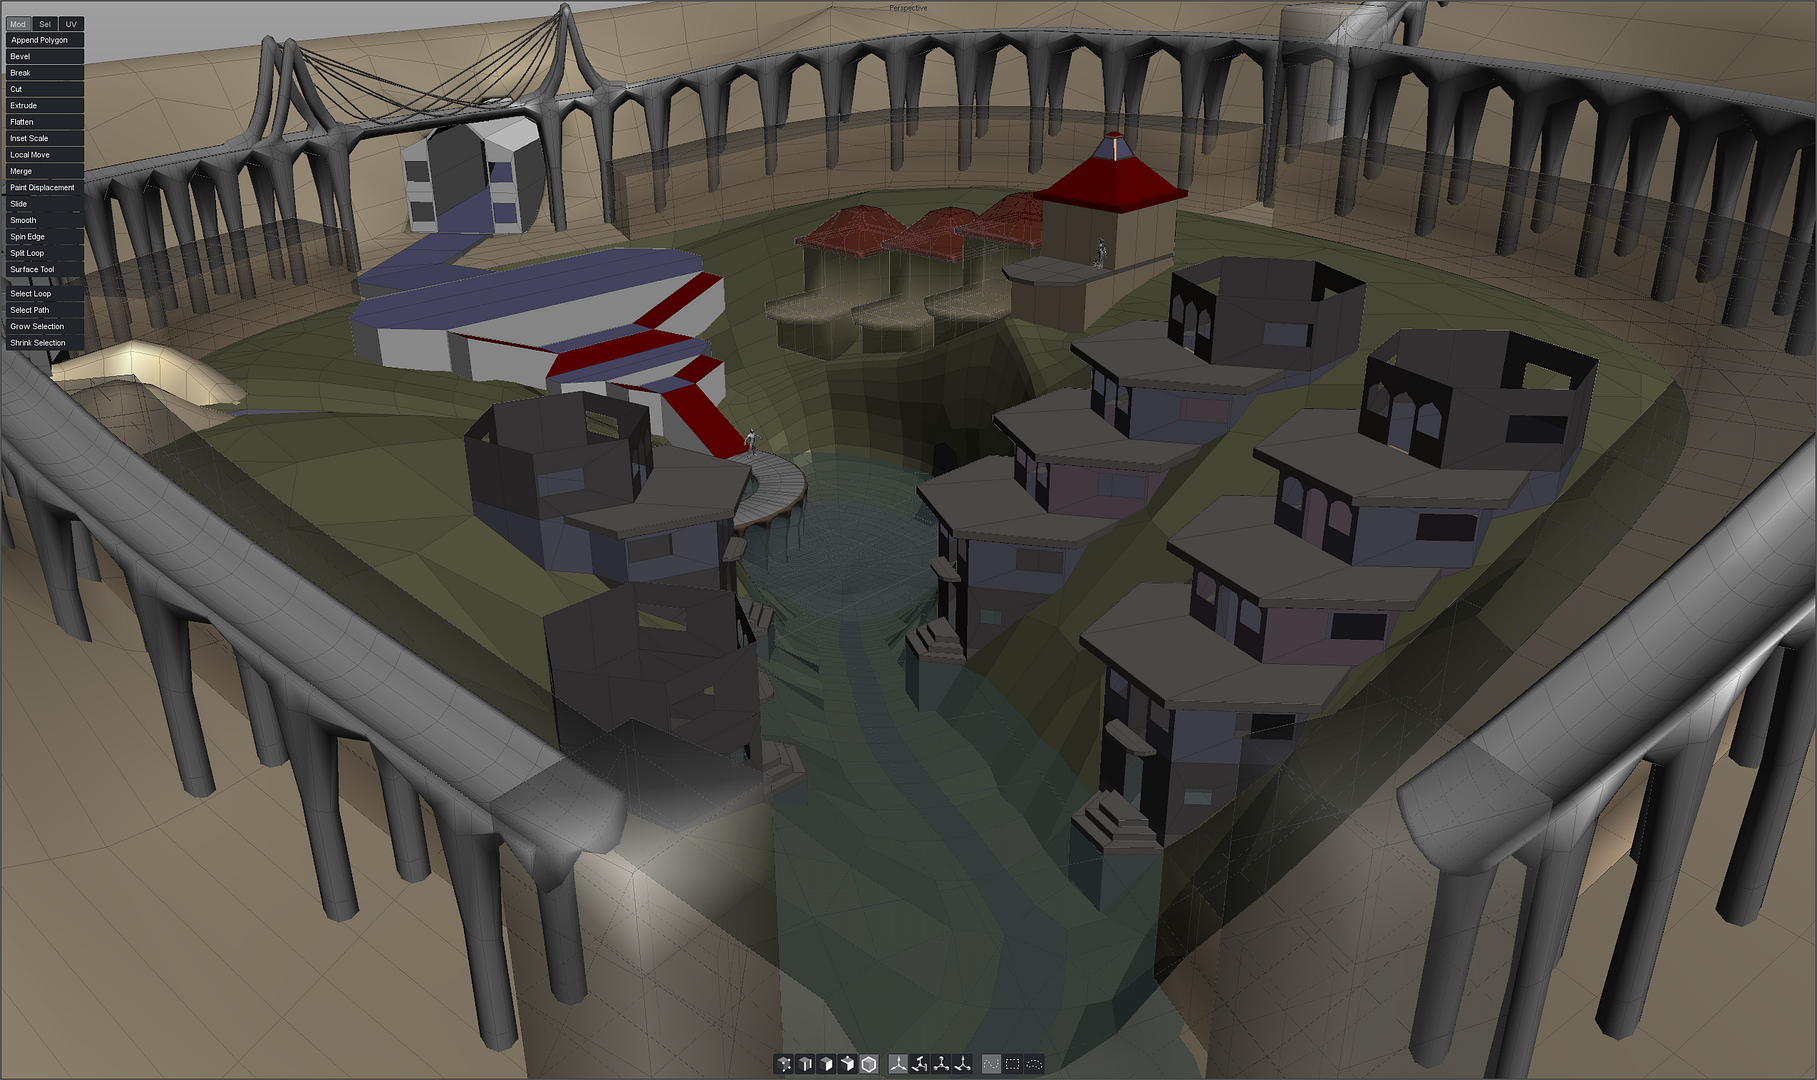
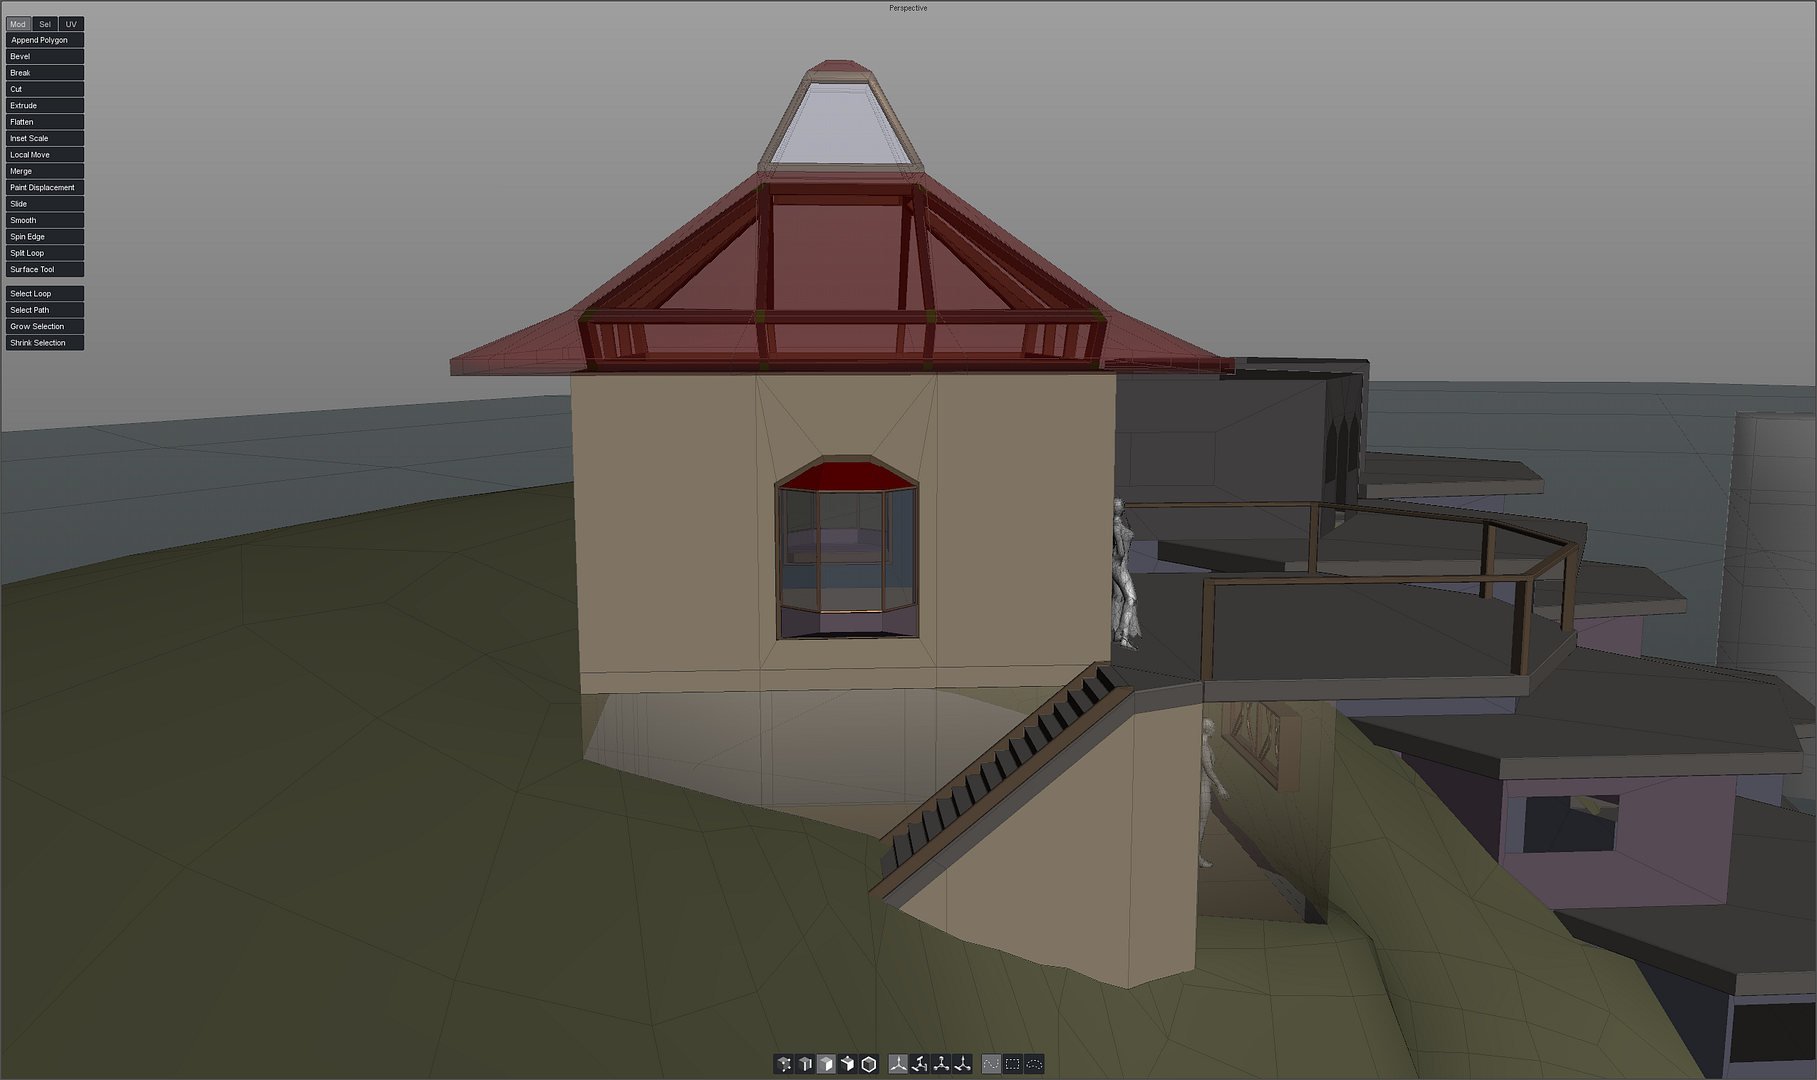
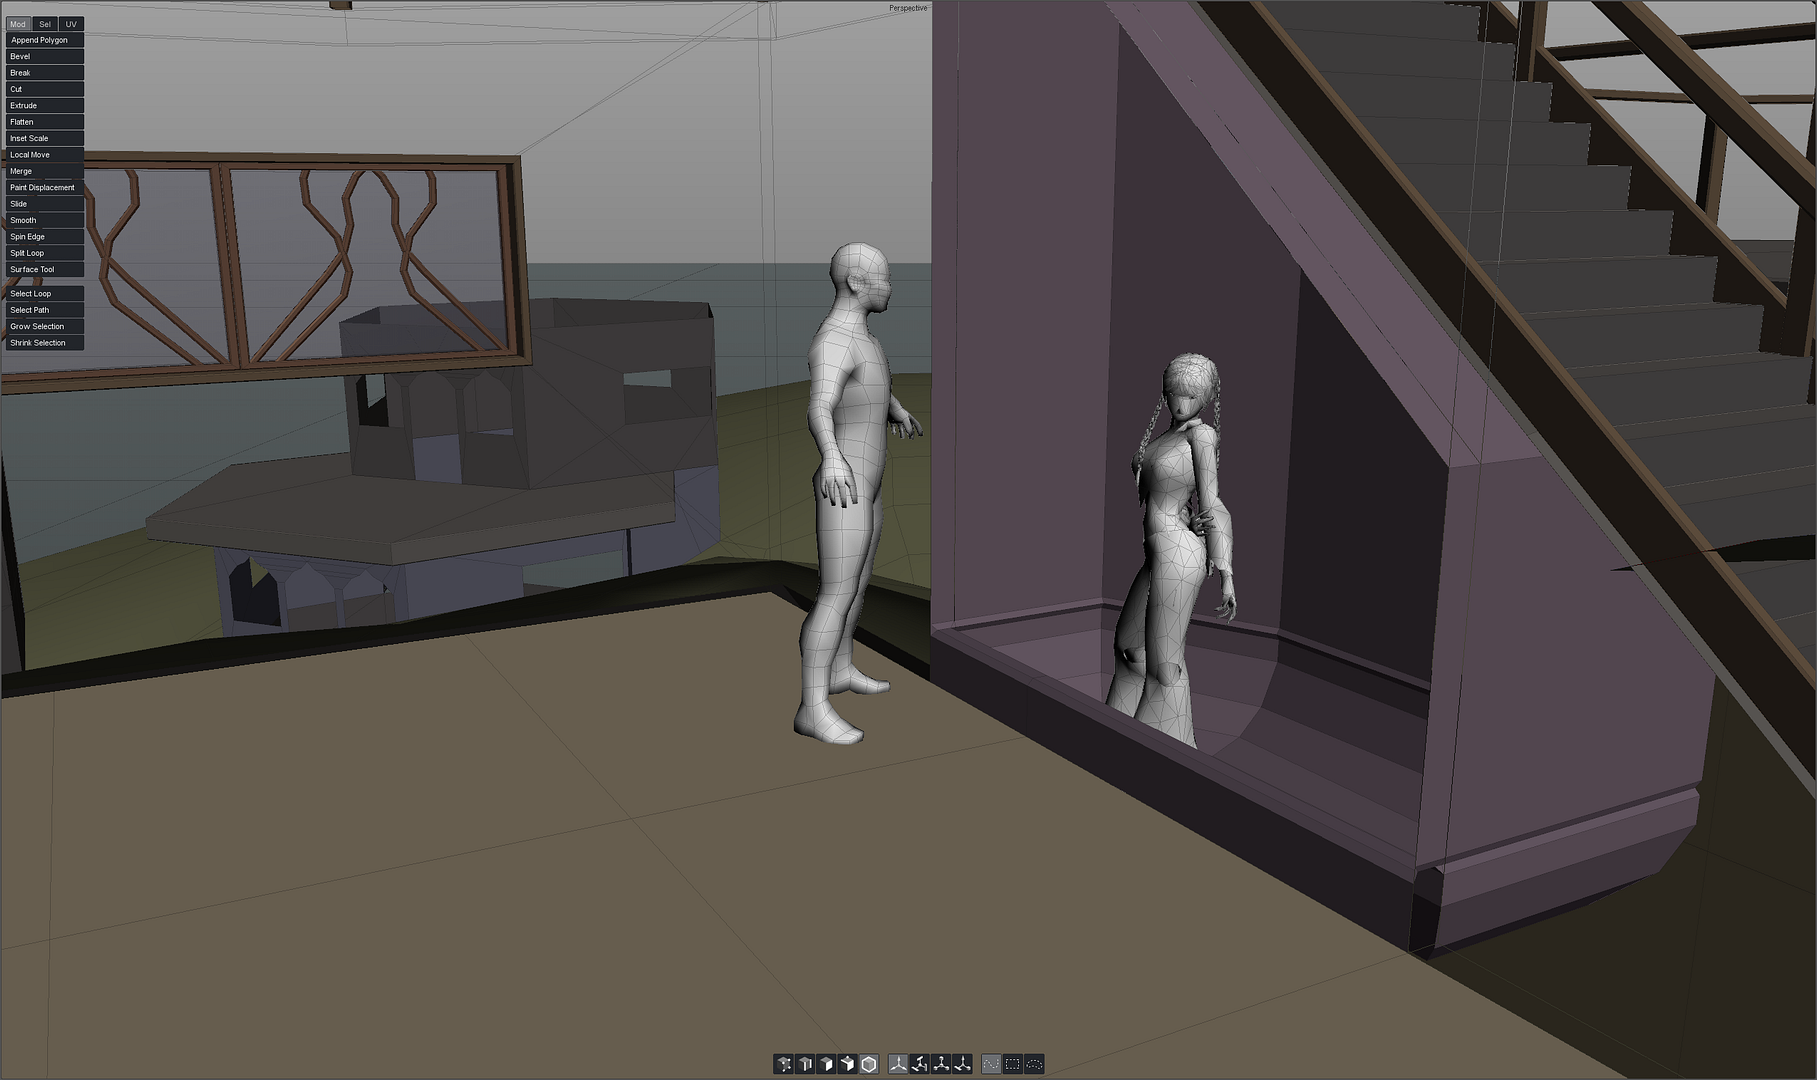
One of my works-in-progress is the Lothlorien playset, with terrain, trees, etc.
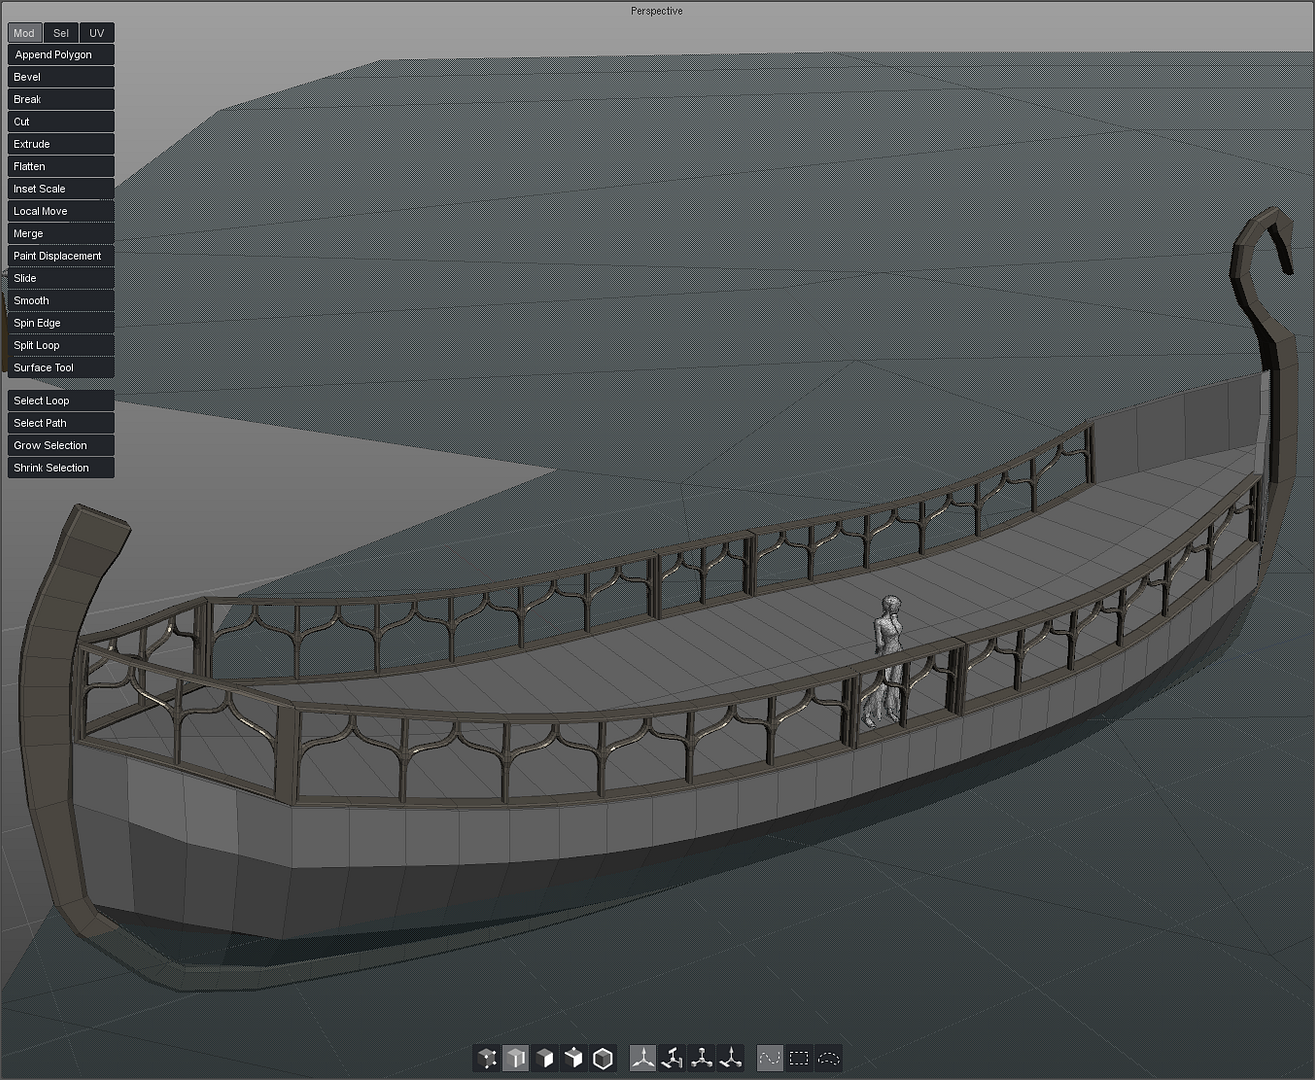
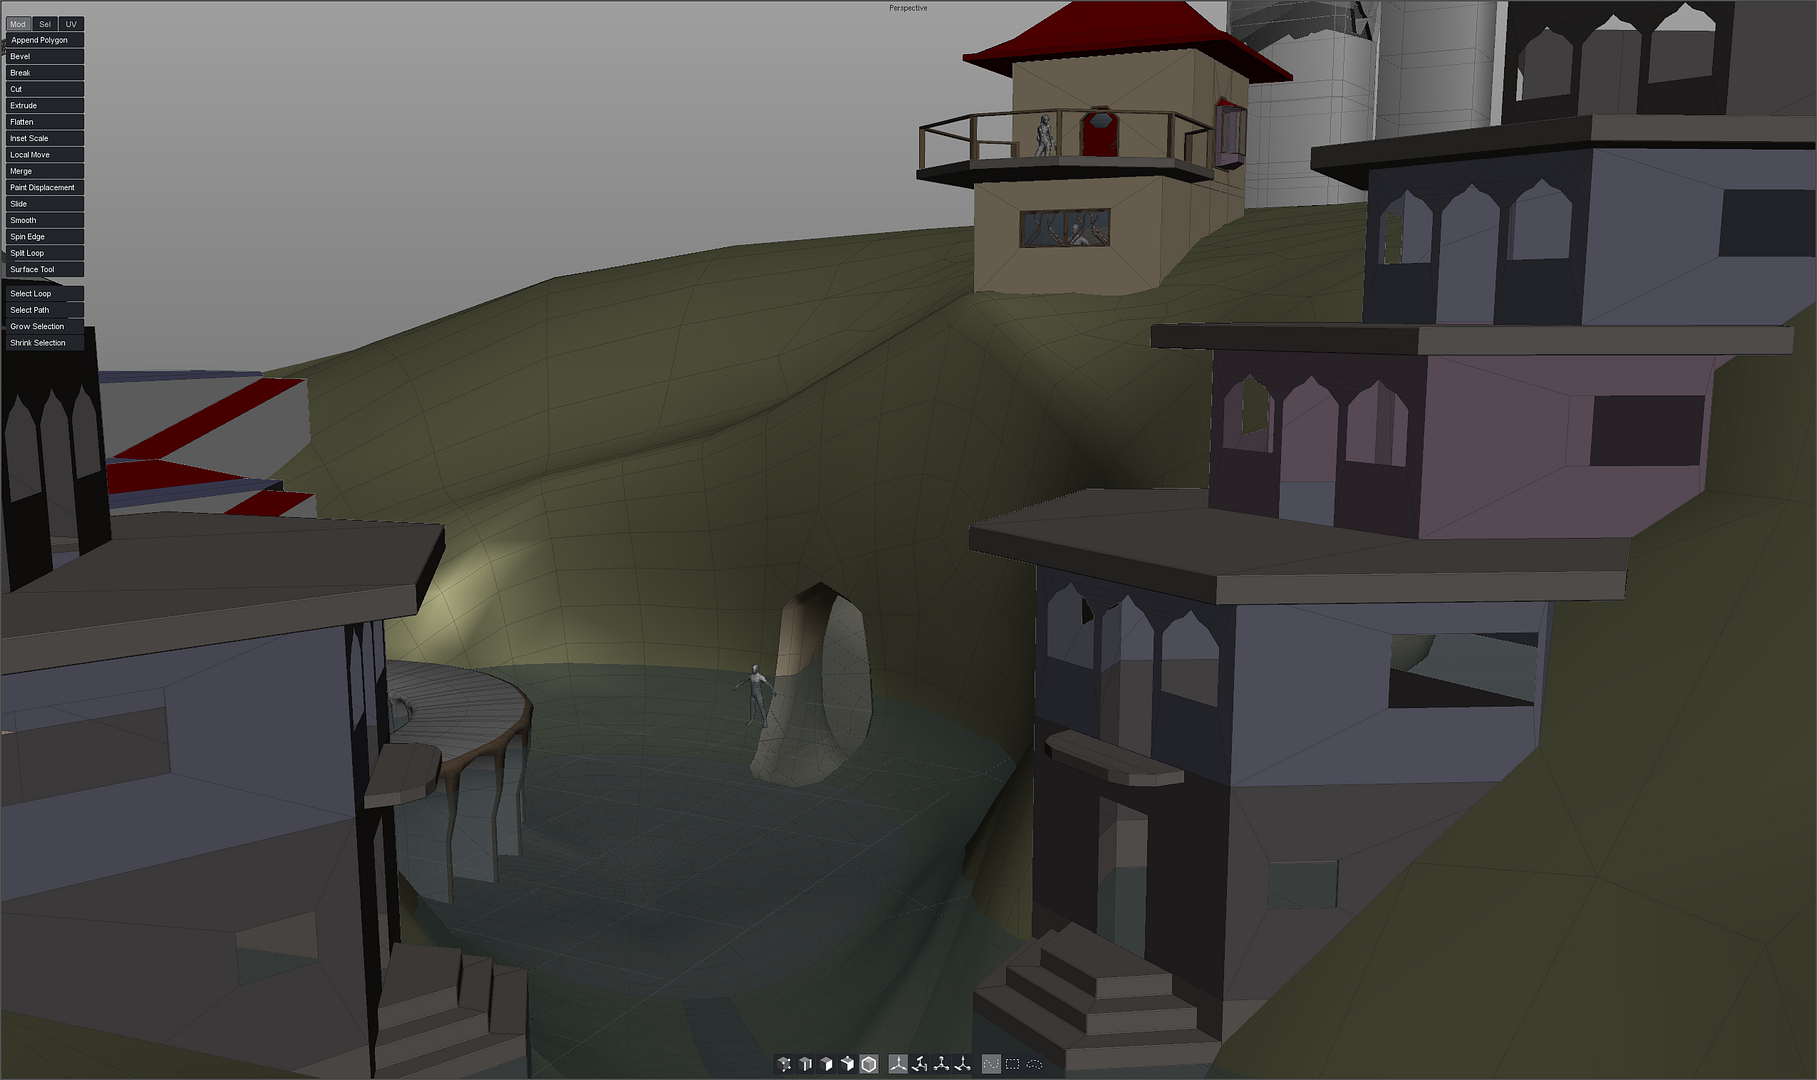
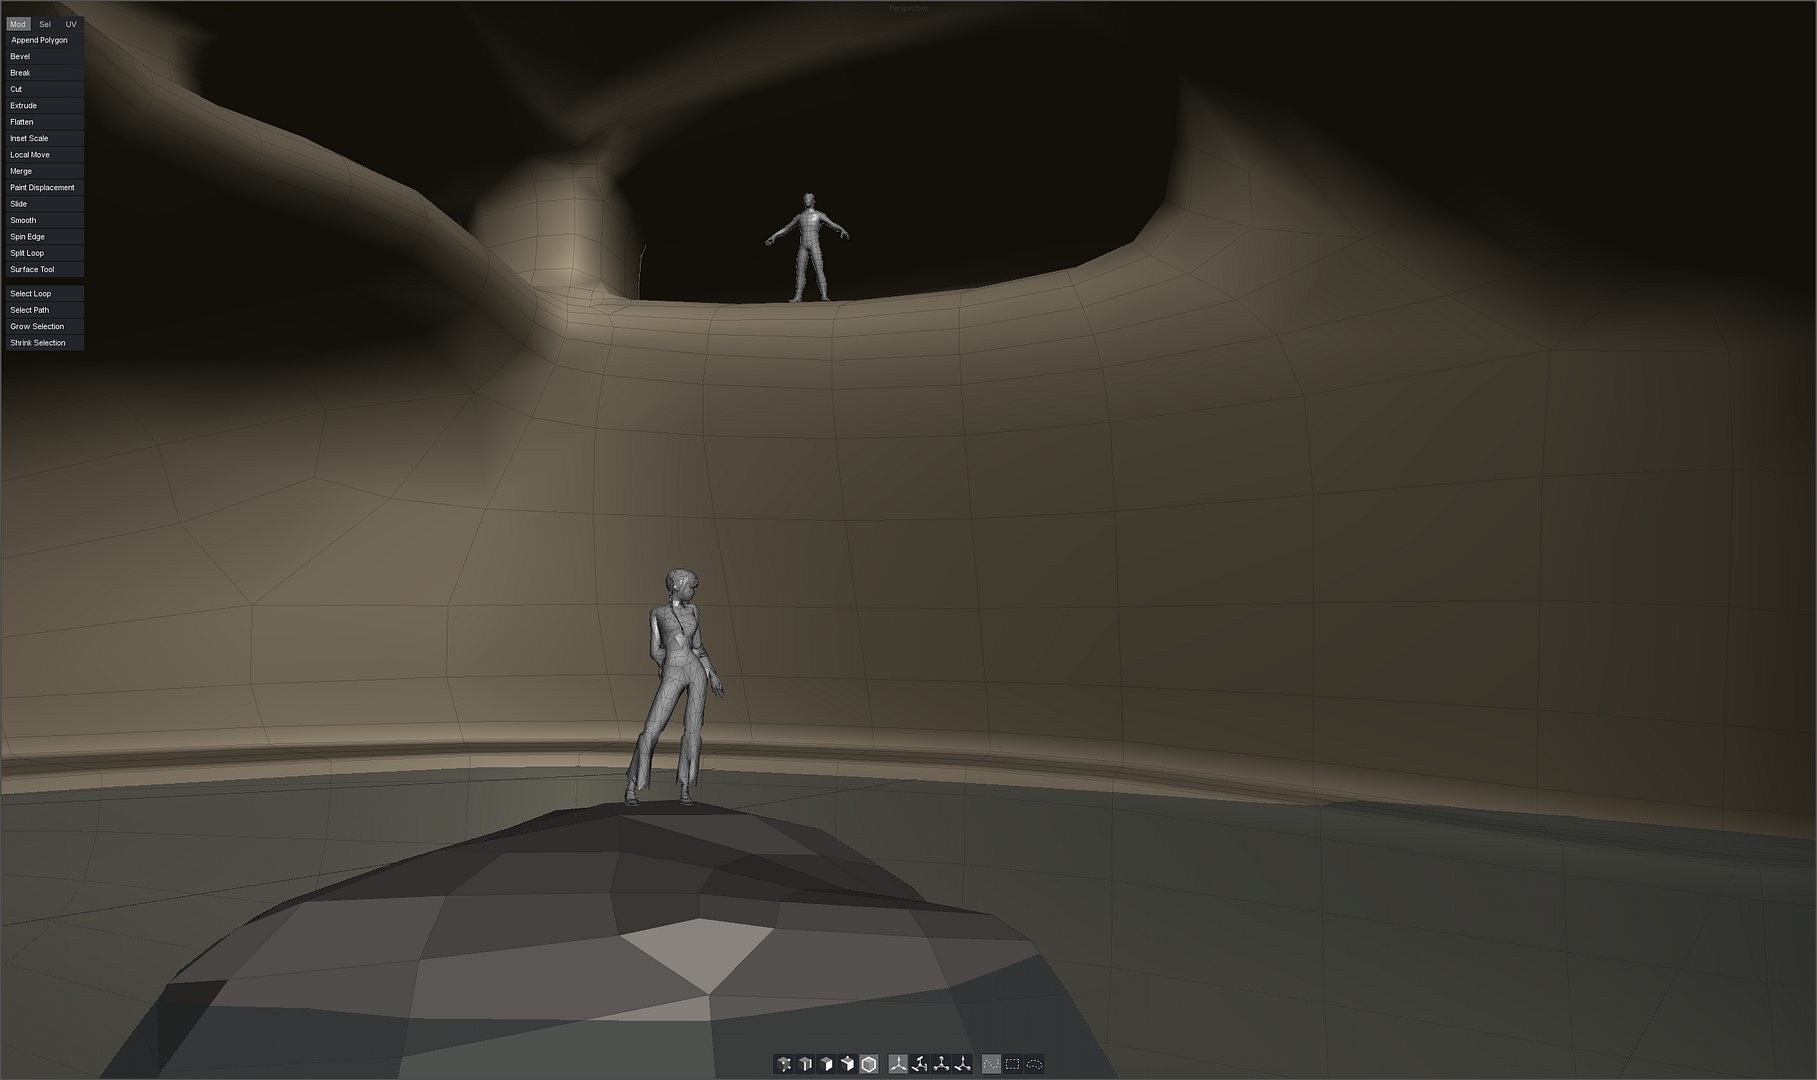
Another is this wee little harbor, intended to be some subsidiary harbor of the grey havens from Lord of the Rings. The last two shots show the mouth of the mermaid cave and its interior.
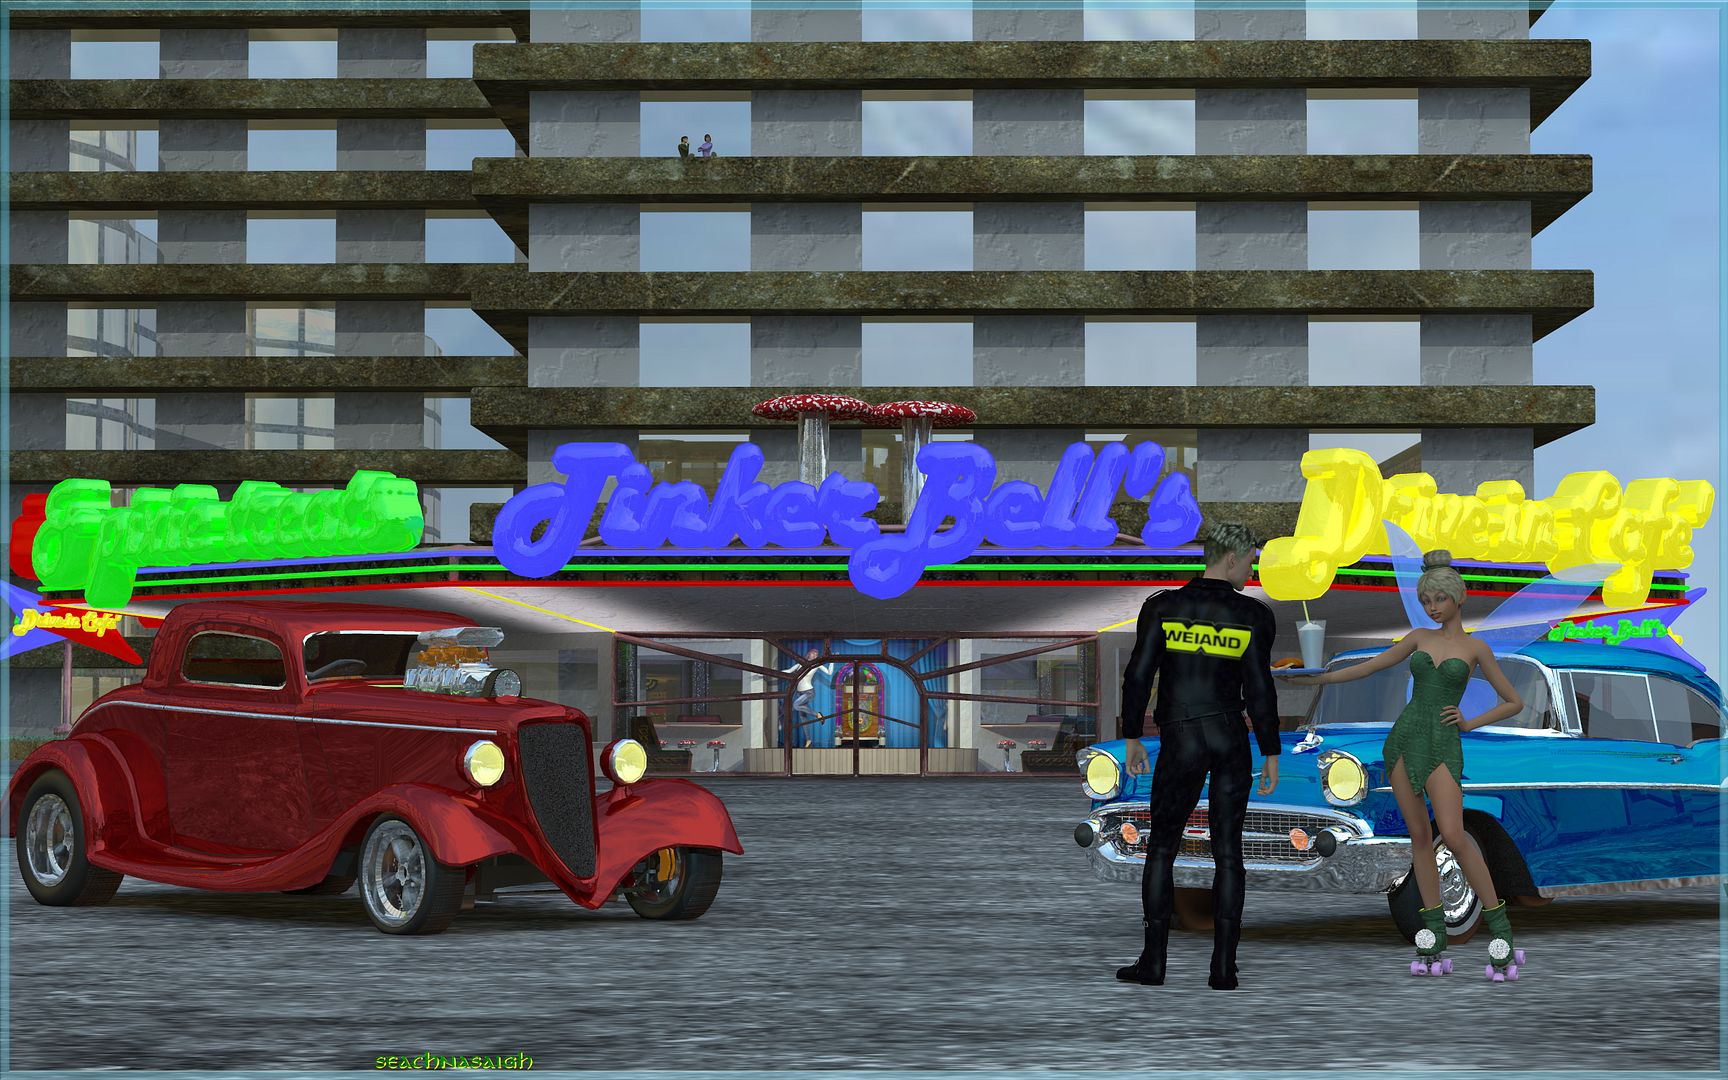
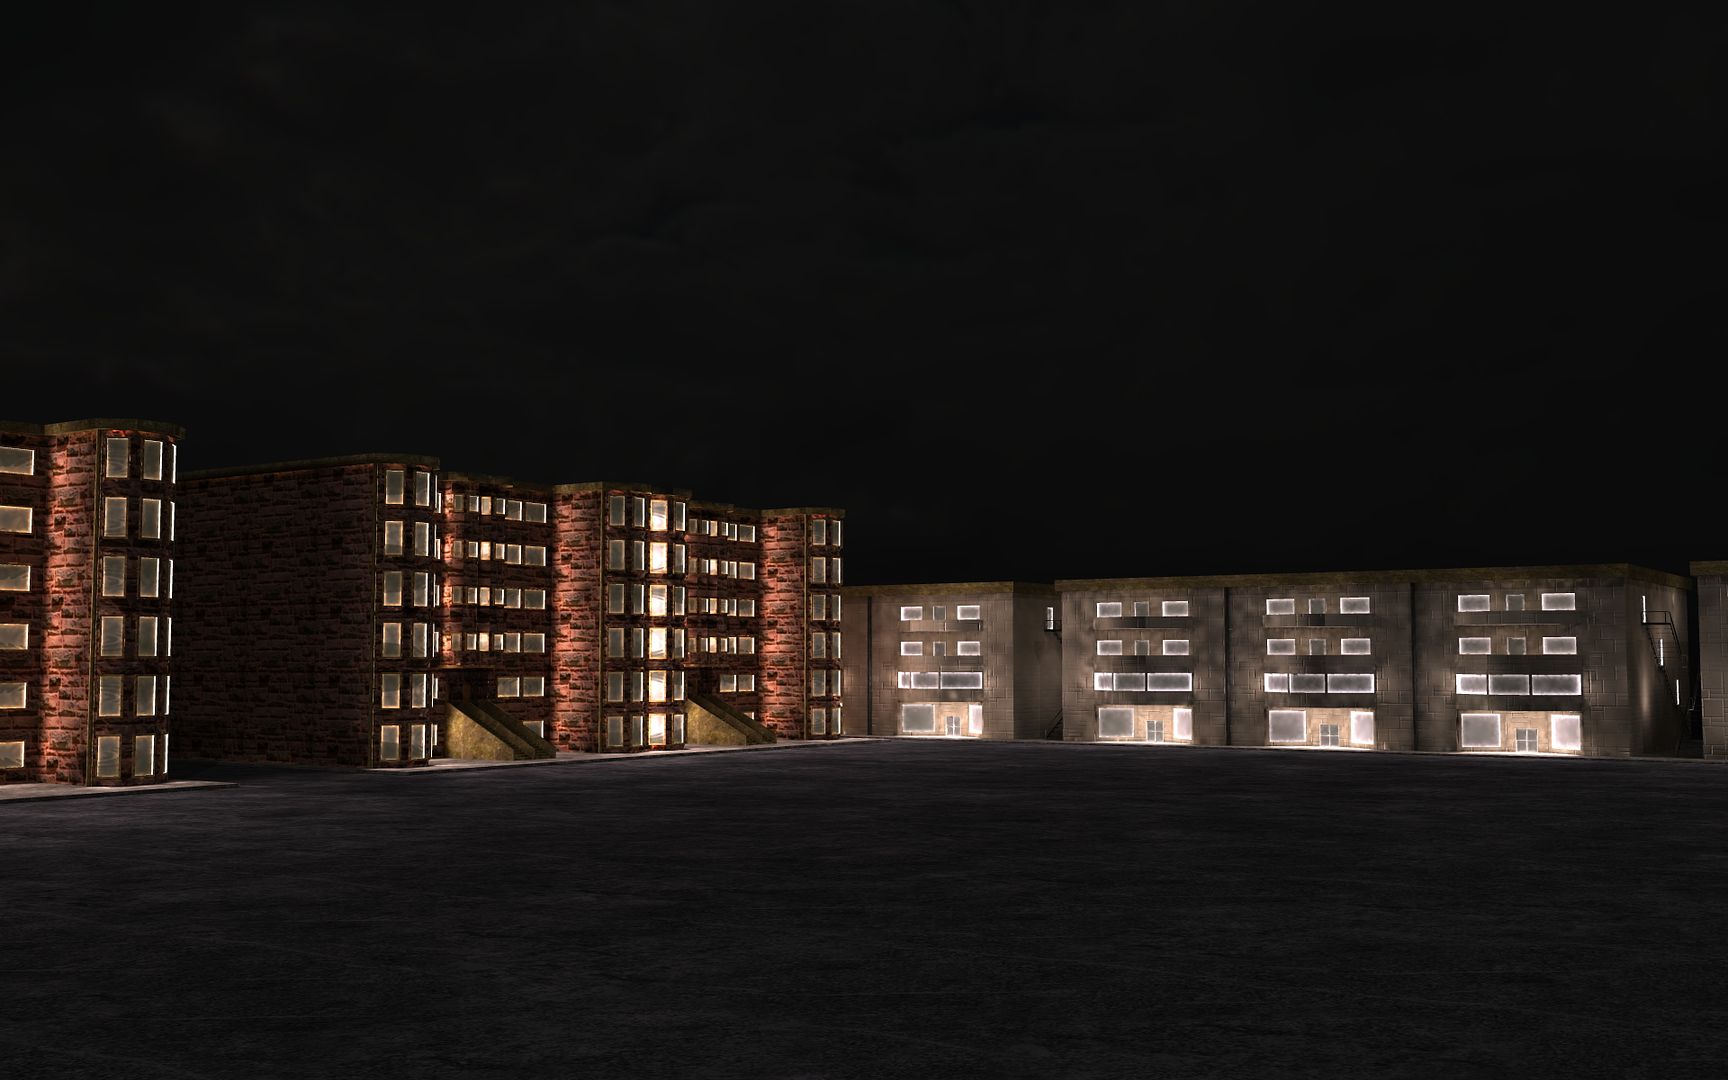
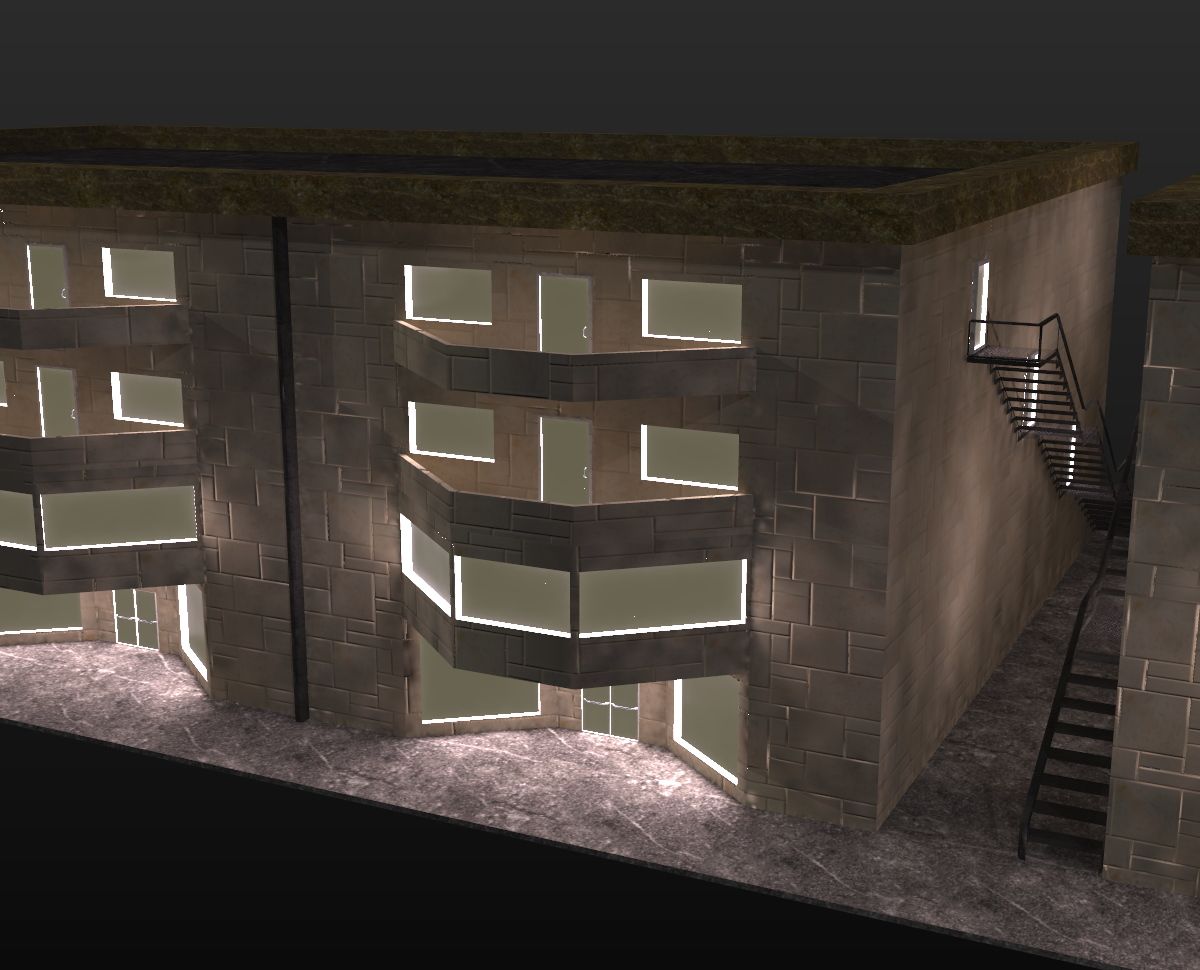
After those, a P9+ IDL rebuild for TinkerBell's Drive-In Cafe' with improved "filler" neighborhood buildings which will be self-illuminated. The cafe' itself will get lots of IDL rebuild attention.
Poser 12, in feet.
OSes: Win7Prox64, Win7Ultx64
Silo Pro 2.5.6 64bit, Vue Infinite 2014.7, Genetica 4.0 Studio, UV Mapper Pro, UV Layout Pro, PhotoImpact X3, GIF Animator 5
The mystery of the failed download hotlinks has been solved. (Thanks to mrsparky for your insight!)
My 4shared album is a paid account; indeed I paid extra for the optional premium service so that everyone could just click on the link and the little save/run prompt box would be the only thing which pops up, no wading through ad-laden web pages. Well, 4shared has unilaterally changed their terms. Now, if someone wants to download my freebie, they must register at 4shared and log in to do so. Needless to say, I won't be renewing this account come December.
Recommendations for a service which offers direct link downloading (no ads, no redirects to web pages) are welcome. I'm willing to pay for such an account. I'm in Ohio, USA.
Recommendations for the less convenient services (shareCG, et al) are also welcome, since I may not be able to find a direct-link service.
Poser 12, in feet.
OSes: Win7Prox64, Win7Ultx64
Silo Pro 2.5.6 64bit, Vue Infinite 2014.7, Genetica 4.0 Studio, UV Mapper Pro, UV Layout Pro, PhotoImpact X3, GIF Animator 5
Wow, those are some interesting props you got!!
This share site's the very best one there is, in fact, they have no stupid ads at all even if you're browsing there (but there's nothing to browse lol). https://letscrate.com/
I don't know what the price is now, but they had this deal a couple years back that if you paid $25, you had a life time membership with, I believe, unlimited uploads/downloads. The links to your freebies are odd looking, so it may scare prospect downloaders, but I've never had anyone question me.
I hate the way 4shared changed, I used to like it without all those stupid buggy very limited download speed plus the neisence ads that the other servers have, but now 4shared is catching on to the crap.
Good luck, friend, hope you find a great place, if you do, let us know!
...wolfie
Darnit you guys! I'm trying to finish my work here and you guys got me glued to this thread :) lol. So much to learn here and I'm barely breaking Poser (thankfully I have P9) in simple material settings.
Don't panic :) I'm still learning as well!
Hey, also thanks for the freebies, these are something I'm gonna be playing with and learning (when I finish my work) in the hopes of turning other things to lights.
Well hopefully in the next few days you'll have this one for your collection. Then if it's not too time comsuming to do. I might starting adding this feature to any new stuff I knock out. But I doubt I'll redo older anything as I don't like going back to old stuff. The only exception will be for my hairdressers set, as I designed that with P9's lighting in mind.
MrSparky (yea, I remember, not MrsParky haha),
LOL!
thanks also that you'll be giving your finished product out as a freebie, I'll be keeping an eye out :) Hope you feel better soon, buddy!
Thanks!
Pinky - you left the lens cap of your mind on again.
Attached Link: http://www.poserdirect.com/stuff/ppsetv2.zip
seachnasaigh - before the reply...new file for you to try... http://www.poserdirect.com/stuff/ppsetv2.zip yea I can see the logic of using double edge blend over transmapping.With transmapping it's often hard to get a good smooth gradient, instead it's usually quite hard edged. Indeed on things like dusty car windows with window-wiped areas, I find you need use both transmaps and playing around with texture strength levels.
One of my works-in-progress is the Lothlorien playset, with terrain, trees, etc. Nice work, epecially the last few images with the lit building. Very close to a long exposure photo.
Poser Project wise from here....
this one
Airport,
1 for MJ,
A commission piece of the trailer seen in the background when that book-booking US preacher is on TV.
Plus 2 long term projects, 3dscanner stuff discussed in the zbrush forum and some work on new ethnic figures.
Sadly poser stuff doesn't pay well, so to support that it's everything from...
Hotel web sites with photography and CRM/booking systems
. Event photography season starts soon.
New web-store for a sculptor/designer who works with recycled metals and african/chinese artists and some hotels sites.
Favourite though is a long term one where I've been asked to create content and install some pro-quality solid-state media players. Seriously cool kit with IR units and sequencers that can trigger stuff like LED lighting or animatronics. Also hoping to make holograms using poser and some 3d projection mapping.
PS sorry to read about your hassles with 4shared. I'd try dropbox as a lot of folks are raving about or a simple cheap hosting package and settig up a basic site. can help with the latter if needed.
Pinky - you left the lens cap of your mind on again.
For me, It's been working on the El Camino (circa 1972) and the older Jeep (circa 1979). Got them both running now.
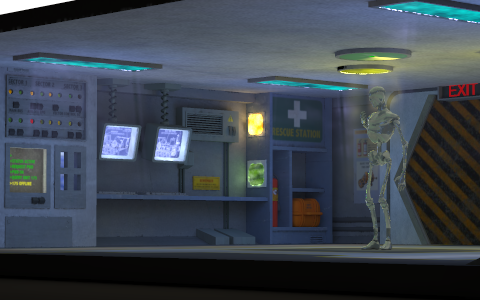
I only have about half of the lights done, but here is the prototype Facility so far; no Poser lights are on, it's all self-illuminated with IDL.
Poser 12, in feet.
OSes: Win7Prox64, Win7Ultx64
Silo Pro 2.5.6 64bit, Vue Infinite 2014.7, Genetica 4.0 Studio, UV Mapper Pro, UV Layout Pro, PhotoImpact X3, GIF Animator 5
seachnasaigh - thats flipping amazing! Never though the new one could look that good. Really looking forward to getting my grubbies on this to have a play!! Also think a lot of people are really going to enjoy all the hard work you've done on this one. PS by jeep you mean real cars?
Pinky - you left the lens cap of your mind on again.
Thank you, friends! ![]()
I mean real (greasy, rusty) vehicles.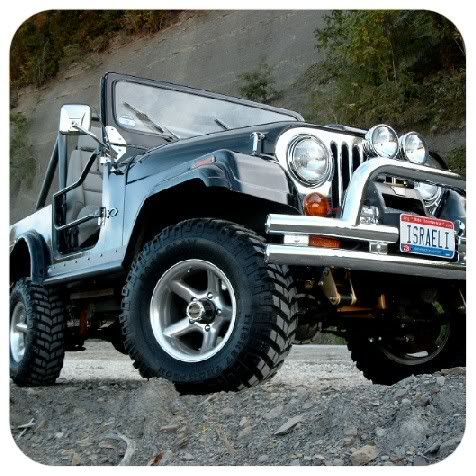
Some progress on the Facility; I've been working on wall 1. The TV monitors still need the aura fitted, and the animated scanning static line for them didn't show at all in the test animation, but that's easy to adjust. I didn't know what you imagined for the "dome" screens on this wall, so I just put something on there. Let me know if you had a specific purpose for the wall 1 dome screens.
Click image to run the flash animation. Again, no Poser lights; the playset is self-illuminated using Poser's IDL.
Poser 12, in feet.
OSes: Win7Prox64, Win7Ultx64
Silo Pro 2.5.6 64bit, Vue Infinite 2014.7, Genetica 4.0 Studio, UV Mapper Pro, UV Layout Pro, PhotoImpact X3, GIF Animator 5
mean real (greasy, rusty) vehicles Nice! ...The TV monitors still need the aura fitted.. B*gger. Forget about those. Sorry about that. ..and the animated scanning static line for them didn't show at all in the test animation, but that's easy to adjust.... Is that a .gif animation or video? I didn't know what you imagined for the "dome" screens on this wall, so I just put something on there. Let me know if you had a specific purpose for the wall 1 dome screens. Nothing on the dome at all, it's just a small light to give some illumination to the desk area.
Pinky - you left the lens cap of your mind on again.

Pinky - you left the lens cap of your mind on again.

Pinky - you left the lens cap of your mind on again.
Attached Link: http://www.poserdirect.com/images/printfolio/big/dragpano.jpg

Pinky - you left the lens cap of your mind on again.
(GeneralNutt)
Quote - Love the way the "radar" light works in the animation, that's really fantastic on a whole.
:D Thanks. ^^ It was an afterthought, but easy to do. The solid color needs some "noise", though. I'll work that in.*
(Mr Sparky)
Quote - ...The TV monitors still need the aura fitted.. B*gger. Forget about those. Sorry about that.
Oh, not at all; I simply was tired and ended work for the night. I already have a "bubbled" aura mesh for square panels, just need to scale it and tilt it to fit.* ^^
(Mr Sparky)
Quote - ...and the animated scanning static line for them didn't show at all in the test animation, but that's easy to adjust.... Is that a .gif animation or video?
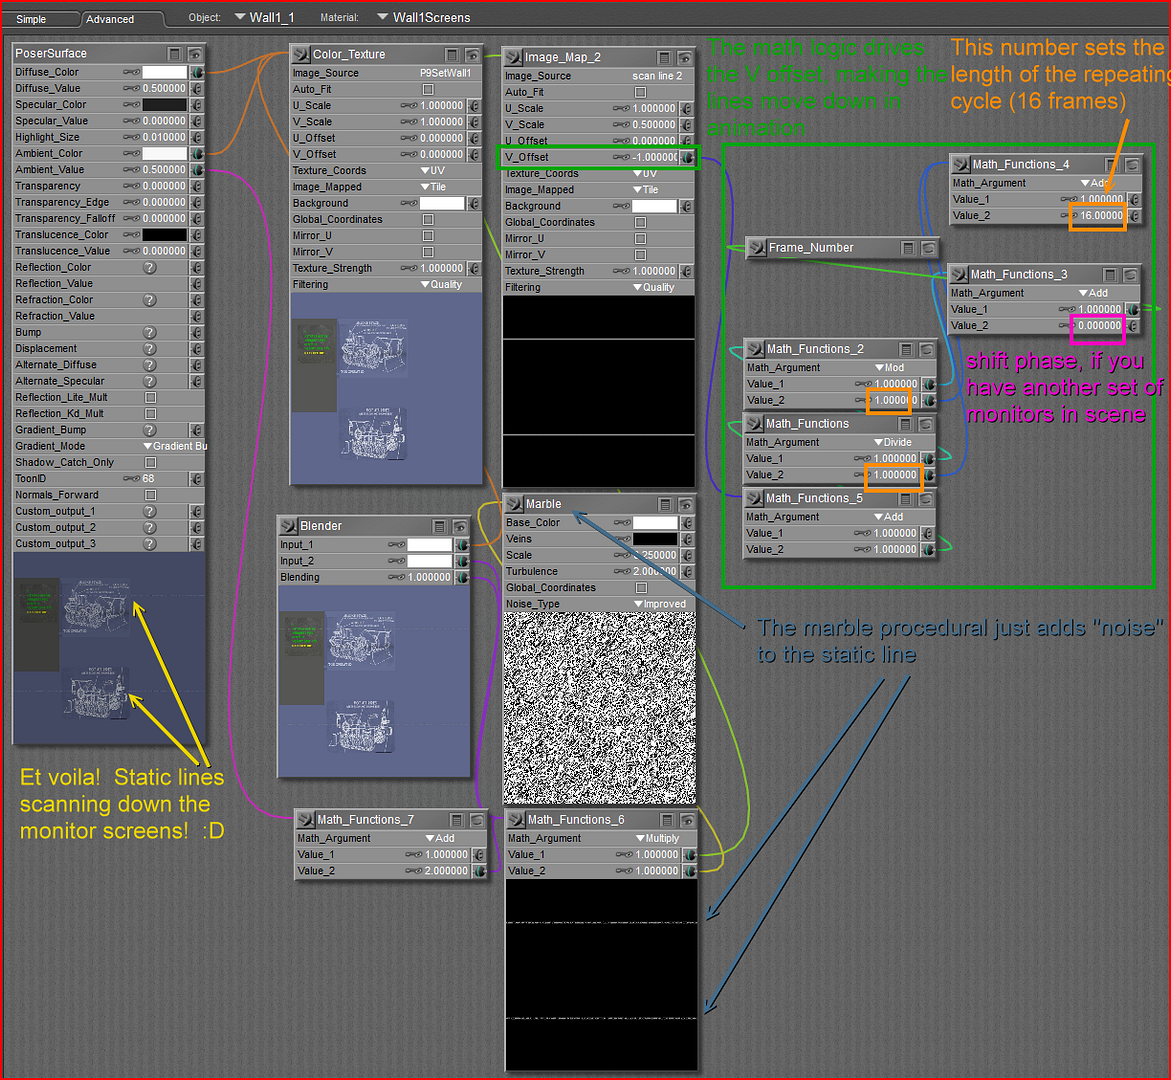
* * Neither, actually. It's just a simple fuzzy line image map, but I move the V offset with the frame number. I just need to dial up its strength a bit.
material set up for the scanning static line on the monitors - click image to enlarge
(Mr Sparky)
Quote - I didn't know what you imagined for the "dome" screens on this wall, so I just put something on there. Let me know if you had a specific purpose for the wall 1 dome screens. Nothing on the dome at all, it's just a small light to give some illumination to the desk area.
Oh, gotcha. They'll be simple lights, then. The aura haze will still be animated.
Those rows of round lights and the four upright rectangular "screens" below confused me somewhat; the visible light meshes are set back into the wall with about a foot of air gap, but the emitters were placed right at the outside edge of the wall. In order for the opaque mesh -the wall- to shape the emitters' cast light, the emitters need to be set back into the hole. I would think that the visible light meshes should be at nearly the same place, just offset front-back enough to avoid having two polygons in the same space - Firefly doesn't like duplicate polygons or edges sharing space.
I'll work from this assumption this evening, and you tell me if you had a different idea in mind. It won't take long to change. Once I get wall 1 kit-bashed up, I'll send you what I have for wall 1 and the ceiling, so that you can make changes as desired. Then I'll work on wall 2, and so on.
Dragon's role is that of a destroyer, but she is as big as a WWII cruiser. She looks under-armed to an untrained observer, but in truth she could kill a WWII heavy cruiser, and that from over the horizon.
P.S. Overlook typing errors. I mangled my wrist wrestling with the truck's drivetrain, so I'm typing with a splint on my left wrist. X(
Poser 12, in feet.
OSes: Win7Prox64, Win7Ultx64
Silo Pro 2.5.6 64bit, Vue Infinite 2014.7, Genetica 4.0 Studio, UV Mapper Pro, UV Layout Pro, PhotoImpact X3, GIF Animator 5
Firstly hope the wrist is feeling a bit better now. Thanks for the tip on the fuzzy line maps and yes I can see now how having two polys in the same space would affect the lighting. Offsetting is easy enough as well. ..Those rows of round lights and the four upright rectangular "screens"....the visible light meshes are set back into the wall with about a foot of air gap, but the emitters were placed right at the outside edge of the wall. In order for the opaque mesh -the wall- to shape the emitters' cast light, the emitters need to be set back into the hole. Which ones? Do you mean the ones on the ceiling or the ones on another part ? ...I'll work from this assumption this evening, and you tell me if you had a different idea in mind. If you mean the lights inside the grid. My thinking here was that area would just have a light inside to illuminate that area. But wouldn't spill outside very much. Hence no aura. Though if you wish to change anything feel free. Dragon's role is that of a destroyer, but she is as big as a WWII cruiser. She looks under-armed to an untrained observer, but in truth she could kill a WWII heavy cruiser, and that from over the horizon. Easily. I heard the two described as York is a bruiser with her muscles on display. Dragon is the quiet one, with an incredibly tiny radar signature, but has the power to create a "clean air bubble" over several 100 miles.
Pinky - you left the lens cap of your mind on again.
Quote - Firstly hope the wrist is feeling a bit better now.
Healing, thanks, but oh my, it itches! ![]()
** ** Check your e-mail for zips. :D This is wall 1 as re-done. Click image to enlarge.
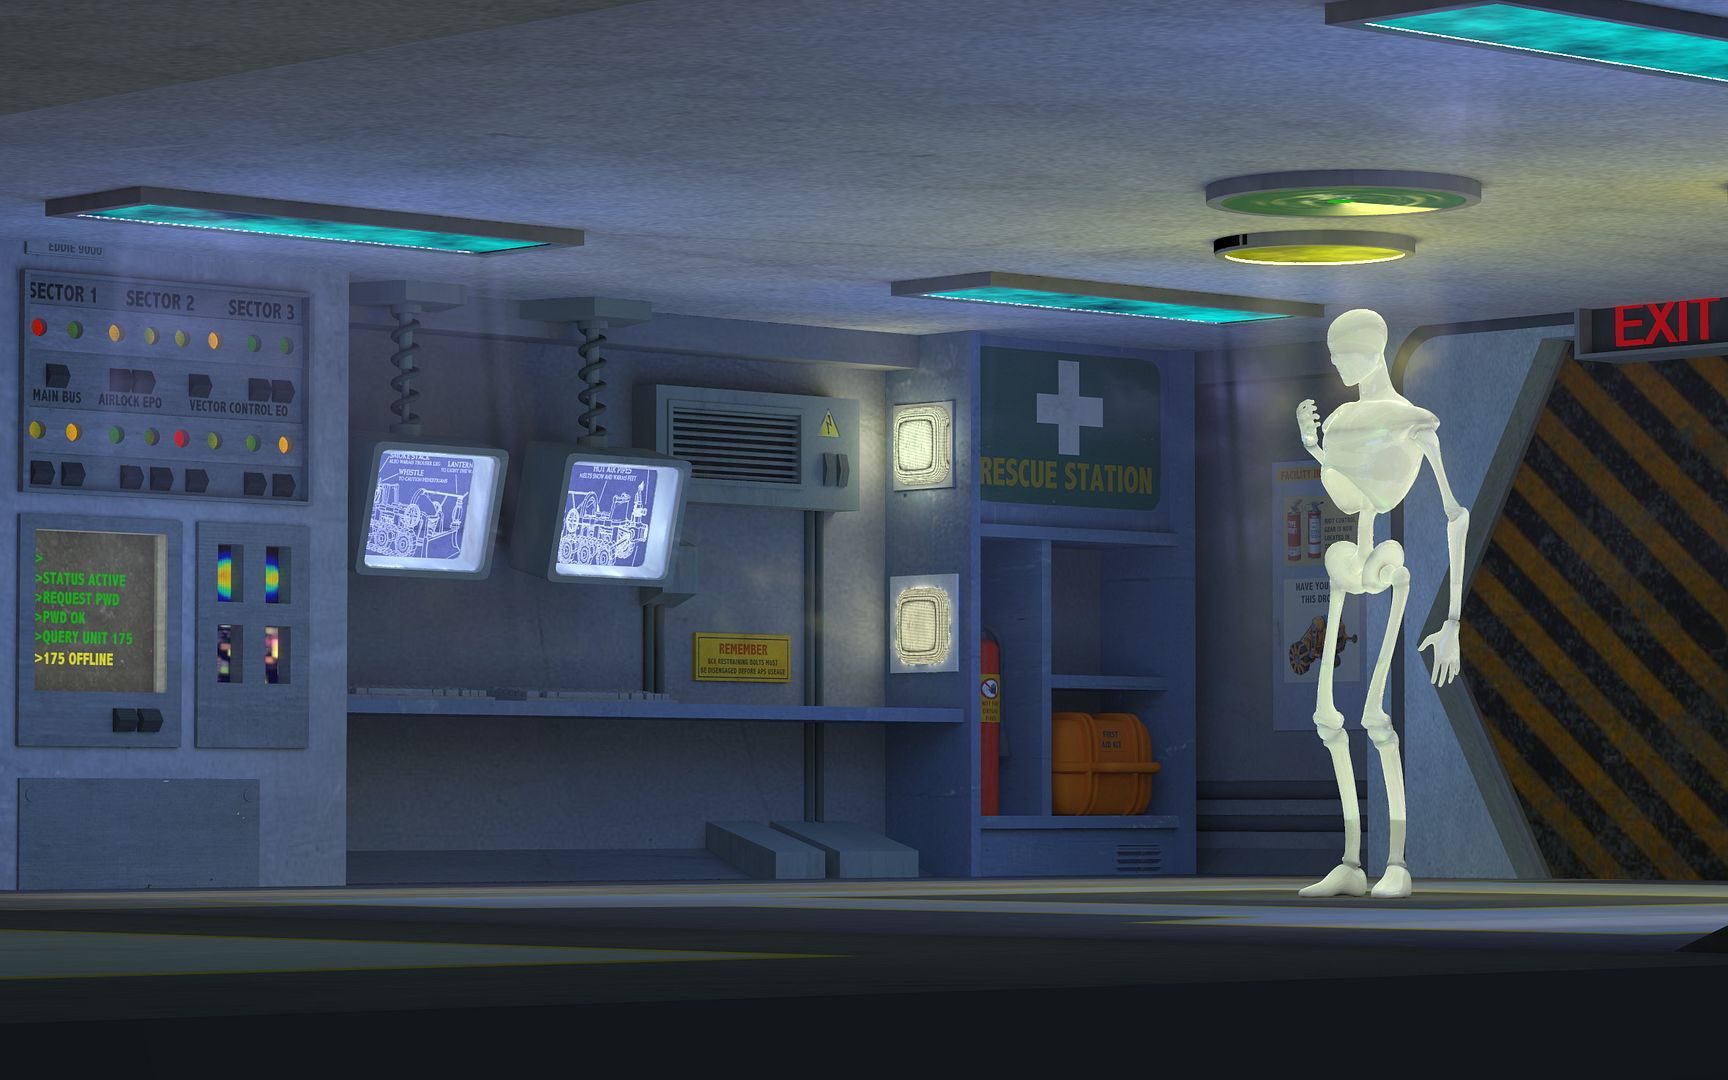 . Click for animation demo.
Poser 12, in feet.
OSes: Win7Prox64, Win7Ultx64
Silo Pro 2.5.6 64bit, Vue Infinite 2014.7, Genetica 4.0 Studio, UV Mapper Pro, UV Layout Pro, PhotoImpact X3, GIF Animator 5
I daresay it could be in the falklands in the wink of an eye! Yep and we've still got a working Vulcan bomber :) Healing, thanks, but oh my, it itches! snicker In plaster? Either way hope it heals soon. Check your e-mail for zips. :D ......... Got em - I'll open them up tommorow (2.30am here), have a play and let you know. Obviously a big thanks as well.
Pinky - you left the lens cap of your mind on again.
(mrsparky)
Quote - ...do you think it would be possible to create an animated raster line effect (as on the classic leia hologram) on a whole figure using P9's lighting?
Oh, my. That's quite an idea. Getting the hologram effect on a mesh would be (relatively) easy, including having it cast a bit of light. The major problem would be to avoid an X-ray appearance, wherein one would see the doll's mesh underneath her hair and clothes, and for that matter, her eyeballs and teeth inside of her.
Earlier in the thread, I posted an amber-colored ghost image of a doll using double edge blend node texturing. I removed the offending interior body parts, and re-imported the modified OBJ. But Leia's clothing needs to be opaque, and to keep Leia from showing through, my first thought would be to make a mesh similar to that required for 3D printing, removing all the polys which are not the visible exterior of the total assembly of doll, hair, clothes, etc. Even this would still show Leia as a shell -the backfacing polys would be visible- rather than appearing as an opaque object.
That's for the heads up, Gen Nutt; I'll look for that thread, and I'll ponder on Mr Sparky's idea.
Here's the HAL light, an animated procedural.
Poser 12, in feet.
OSes: Win7Prox64, Win7Ultx64
Silo Pro 2.5.6 64bit, Vue Infinite 2014.7, Genetica 4.0 Studio, UV Mapper Pro, UV Layout Pro, PhotoImpact X3, GIF Animator 5
The ghosting effect (where the back parts do not show but you can see through a figure or prop) is easily done. You make it invisible to raytracing and you refract to reveal what is behind. This was documented at RDNA years ago.
What you seek here with vertical lines that are straight and parallel and even with respect to the camera by applying something to a 3D model is not possible, though. Not with lights, and not with a shader alone.
Even if I could figure out how to do it (and I probably can't), is it worth the effort? Why not render the figure into an animation, then load the animation into a movie and make raster lines using math nodes, applied to the movie node. That would be very easy - similar to the TV raster lines I did with my artistic lens.
The difference here, why you cannot use the artistic lens, is you want it to only apply to part of the scene - the part occupied by the 3D figure. That's why it is really not possible using tricks I've published before. The lines would have to be generated on the lens - where the line is there, you would have to "see" the subject, and where the the line is not there (in a gap) you would have to "see through" the subject. With no access to internals I can't think of a way to do that.
If, on the other hand, you're OK with the lines not being straight, parallel, and even with respect to the camera, but rather with respect to some arbitrary orientation plane, then this is not so hard.
Renderosity forum reply notifications are wonky. If I read a follow-up in a thread, but I don't myself reply, then notifications no longer happen AT ALL on that thread. So if I seem to be ignoring a question, that's why. (Updated September 23, 2019)
Thank you for that info, BB. I wasn't aware of that technique; I'll experiment a bit. While it may not be feasible to get precisely what Mr Sparky wants, we can probably get a result that will be satisfactory.
I saw three main paths to try:
- alpha plane billboard, which would need to be kept nearly orthogonal to the camera (using point at?)
- 3D mesh with material room mojo to produce the hologram effect
- projected light -using a movie as a light gel- onto a receptor mesh
Since the alpha plane billboard is obvious and trivial, I assumed that Mr Sparky had the second method in mind.
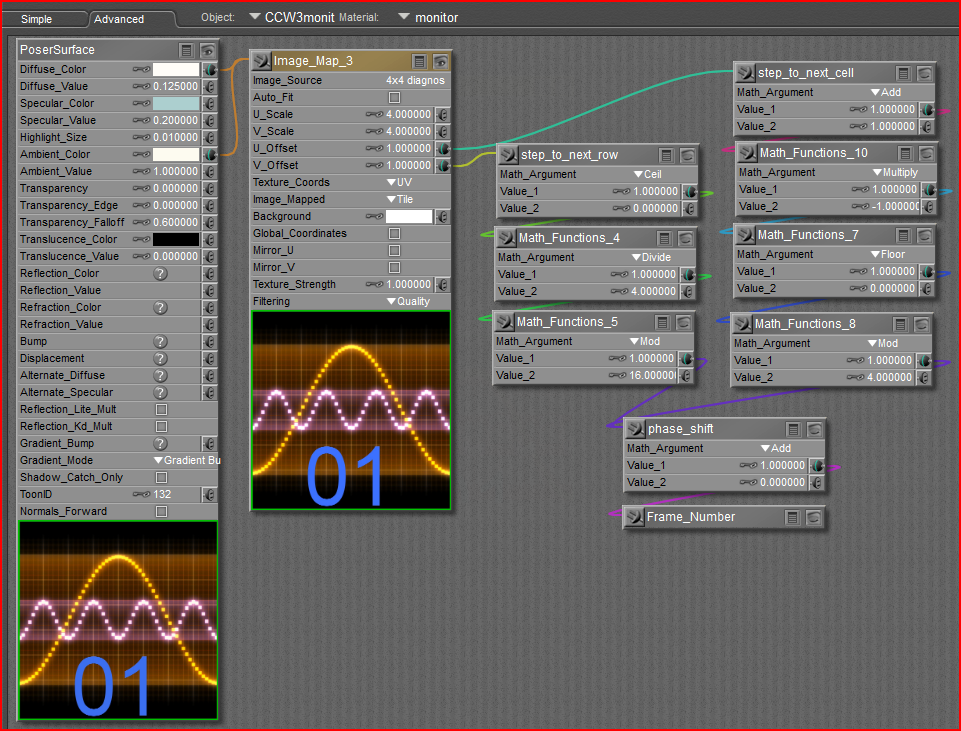
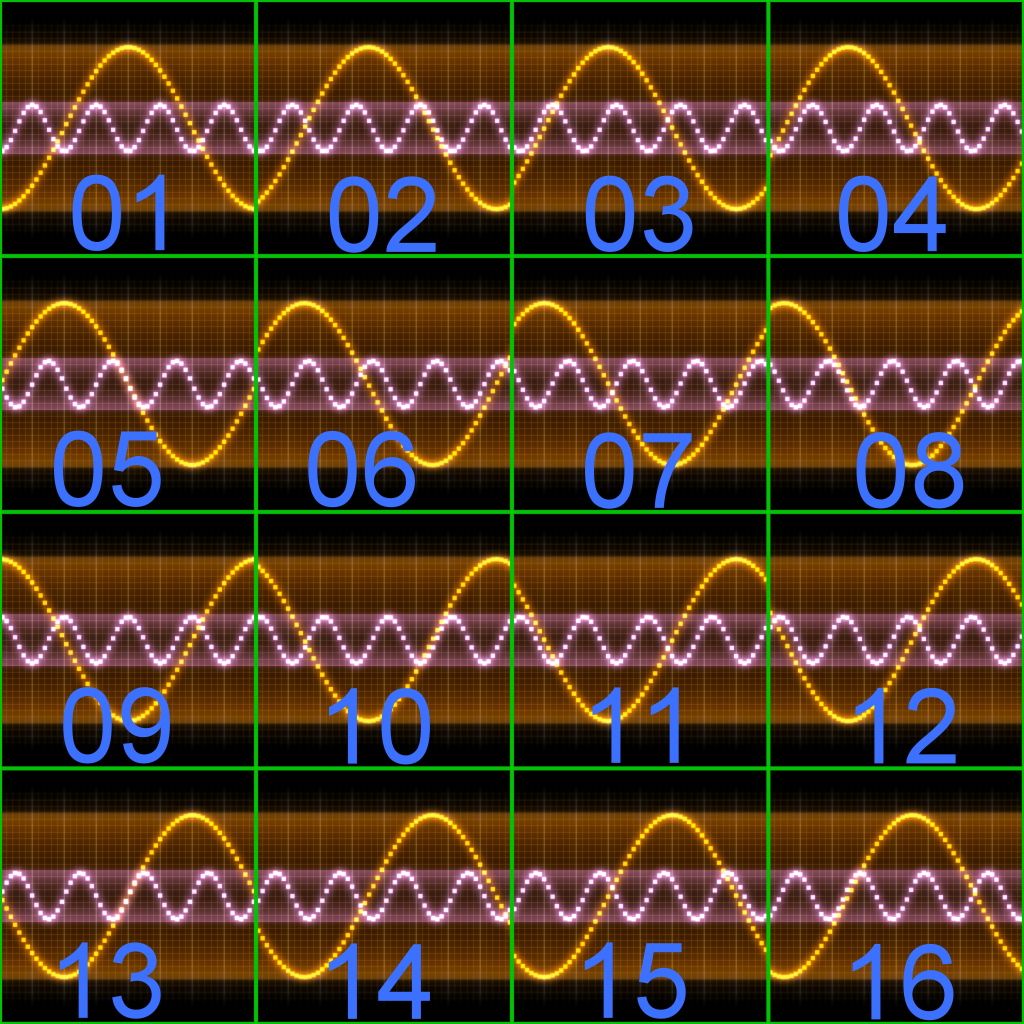
Meanwhile, I'm trying to figure out why a test animation showed a monitor apparently displaying cell 1 of a 4x4 matrix for four frames, then frame 5 for four frames, etc. My immediate thought was a logic error such that the image map wasn't stepping from cell to cell each frame, but when I substituted a diagnostic matrix image -with the cells numbered and an alignment grid- and rendered out a "draft" test, the progression was correct. Advancing frame by frame also shows the logic to be correct and working properly. This is what's delaying the completion of wall 3, Mr Sparky. But I'm working on it.
If anyone wants to test this, give your scene 32 frames, set the frame rate to 4-6 frames per second, tick the "loop" dot, and un-tick the "skip frames" dot.
This has 16 cells, so with 32 frames you can see if the matrix seamlessly loops both within the string of frames (at the 16-17 frame jump) and at the termini (the jump from frame 32 to frame 1).
Poser 12, in feet.
OSes: Win7Prox64, Win7Ultx64
Silo Pro 2.5.6 64bit, Vue Infinite 2014.7, Genetica 4.0 Studio, UV Mapper Pro, UV Layout Pro, PhotoImpact X3, GIF Animator 5

Pinky - you left the lens cap of your mind on again.
The Facility is ready; I'll be sending you an e-mail with attachment, Mr Sparky.
Poser 12, in feet.
OSes: Win7Prox64, Win7Ultx64
Silo Pro 2.5.6 64bit, Vue Infinite 2014.7, Genetica 4.0 Studio, UV Mapper Pro, UV Layout Pro, PhotoImpact X3, GIF Animator 5
Oh yes :) Been playing with it tonight, got a few bug squishys from my end to do and some promos, then I'll get this one up. Might not be this week due to other work for 2 days and my plank neighbour has flooded us yet again. So more painting :( BTW - seachnasaigh - please check IM.
Pinky - you left the lens cap of your mind on again.
Privacy Notice
This site uses cookies to deliver the best experience. Our own cookies make user accounts and other features possible. Third-party cookies are used to display relevant ads and to analyze how Renderosity is used. By using our site, you acknowledge that you have read and understood our Terms of Service, including our Cookie Policy and our Privacy Policy.


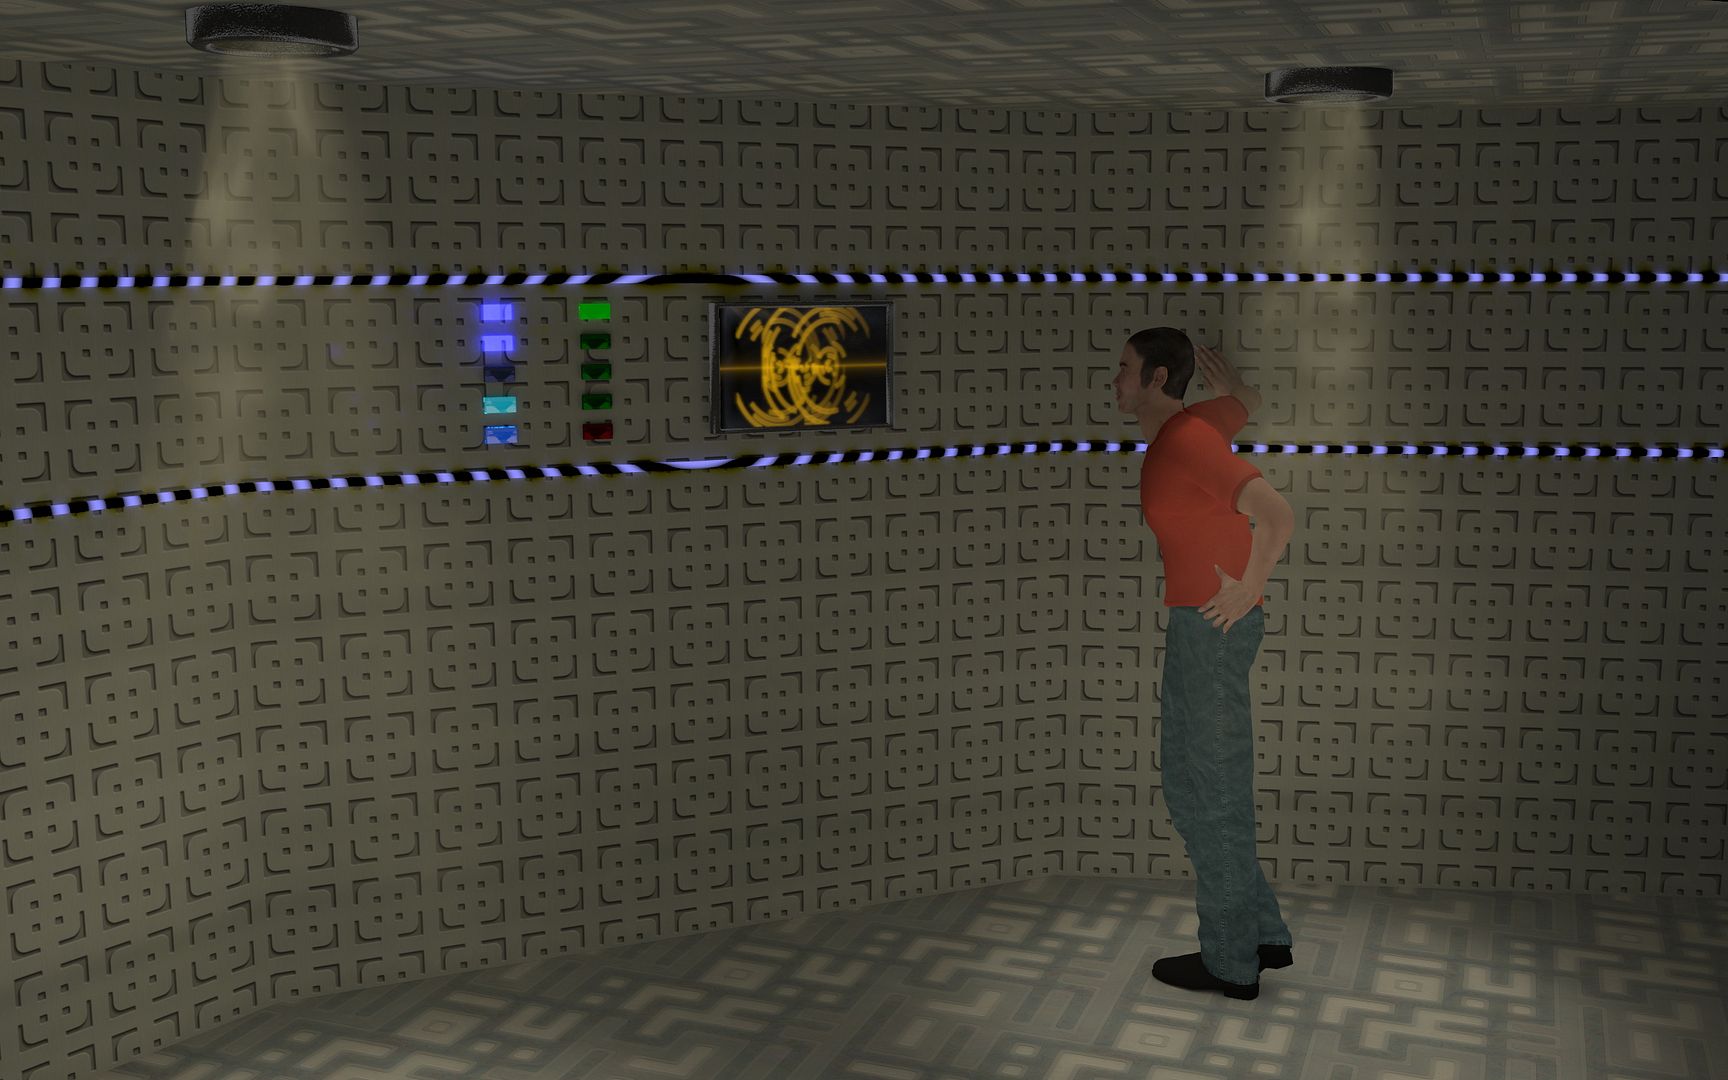



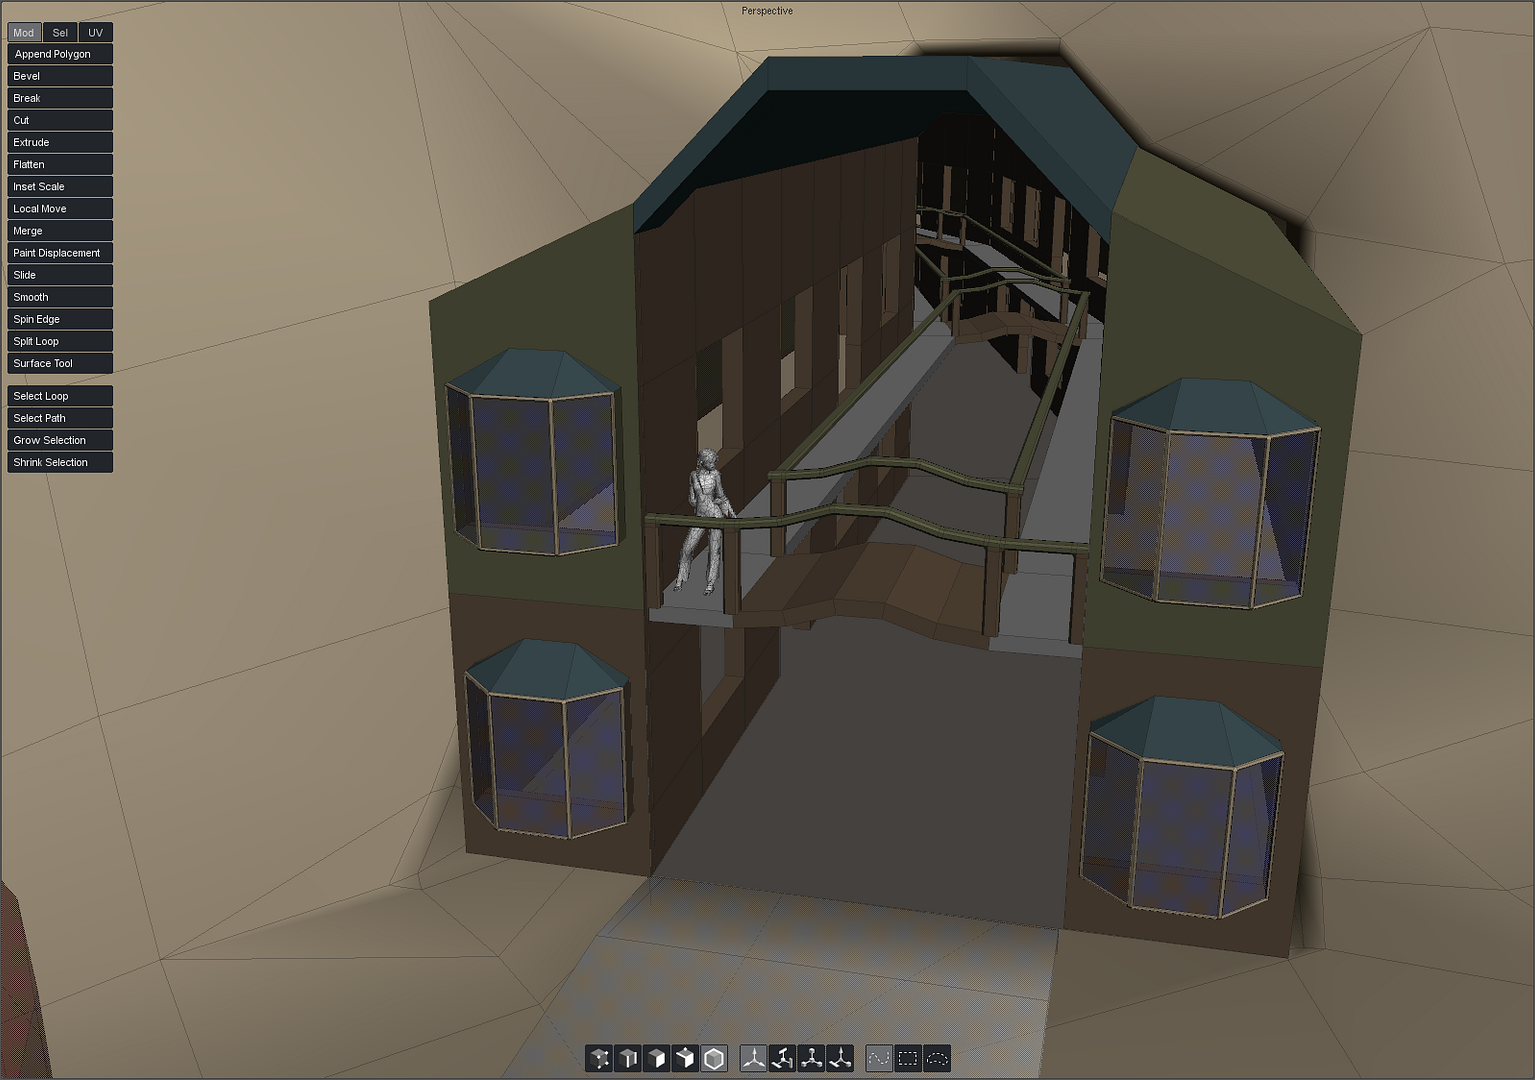
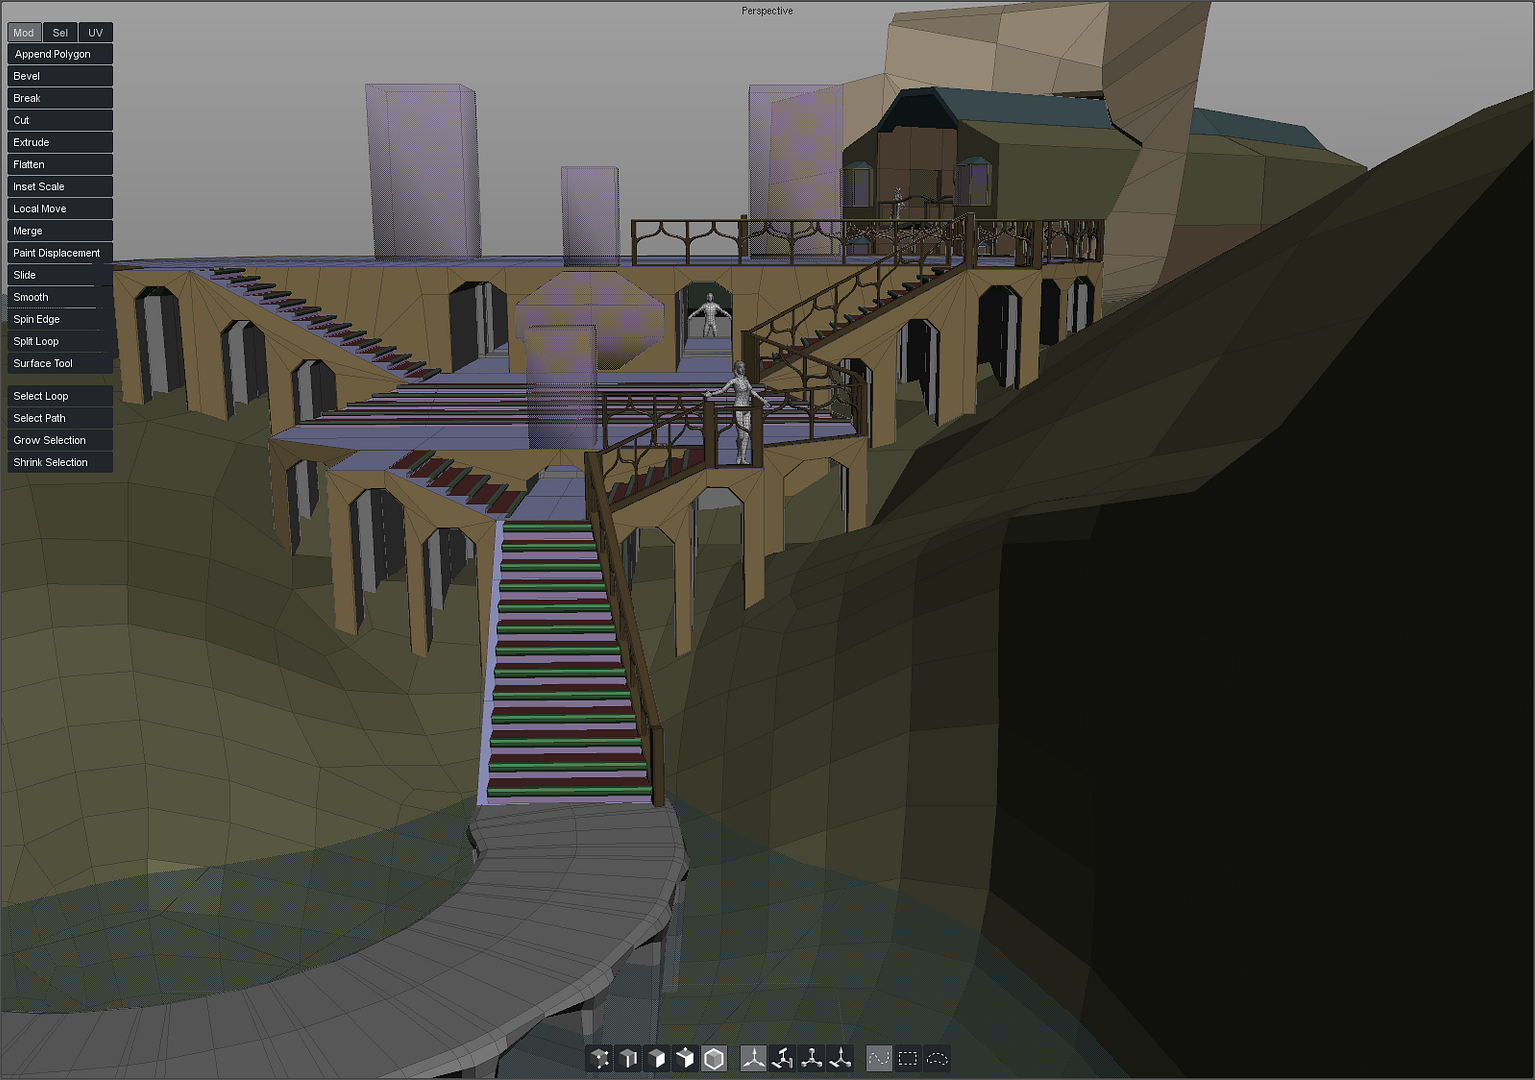
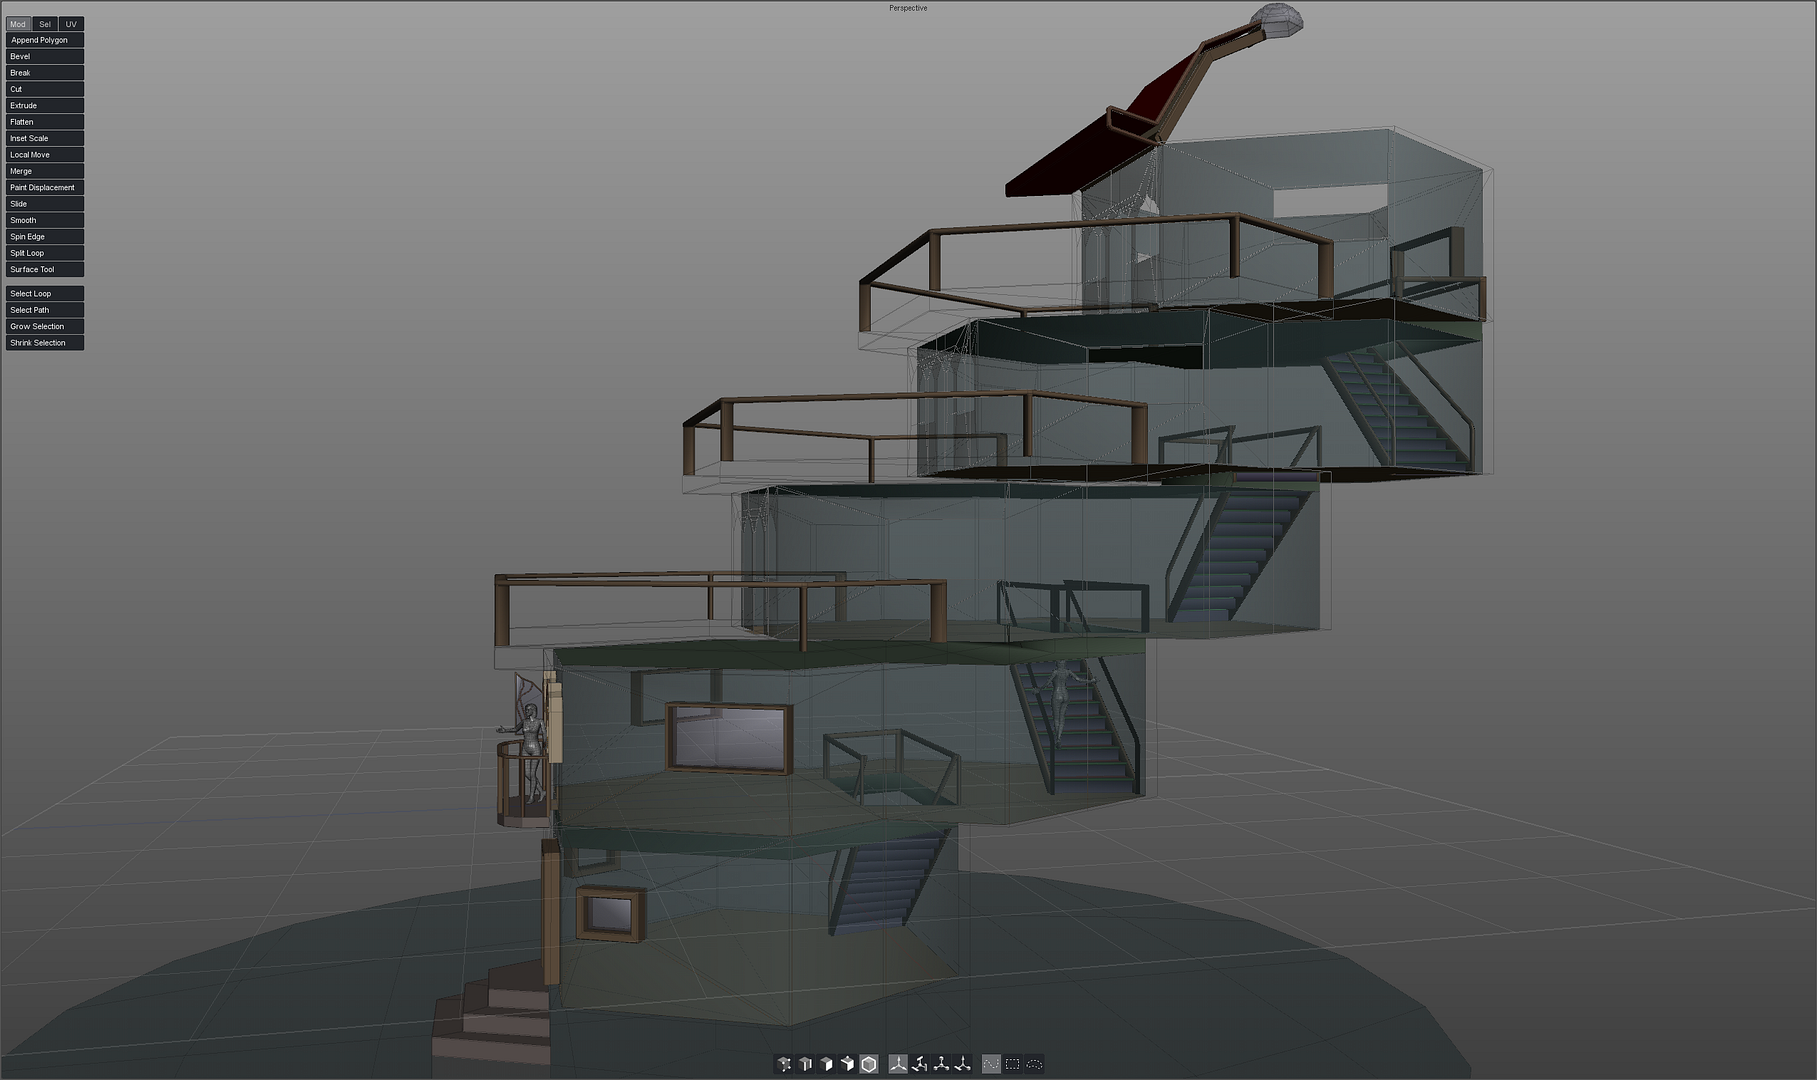
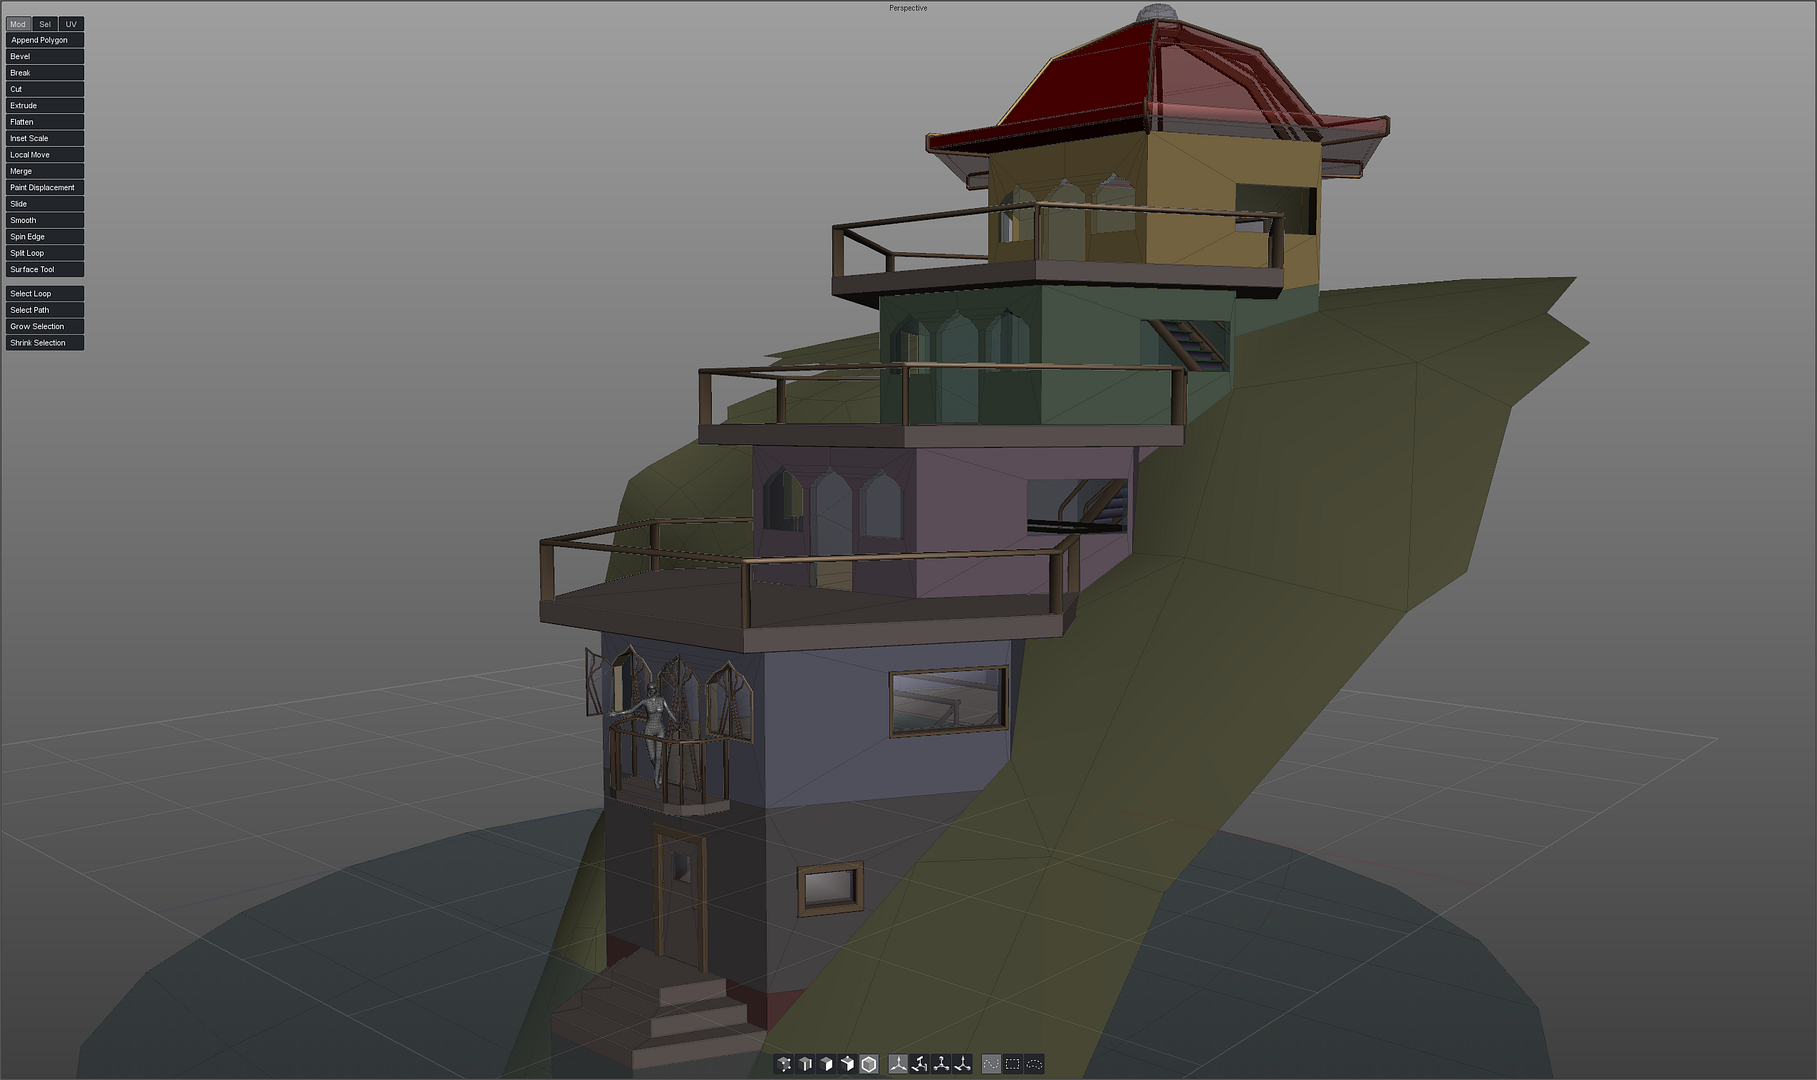




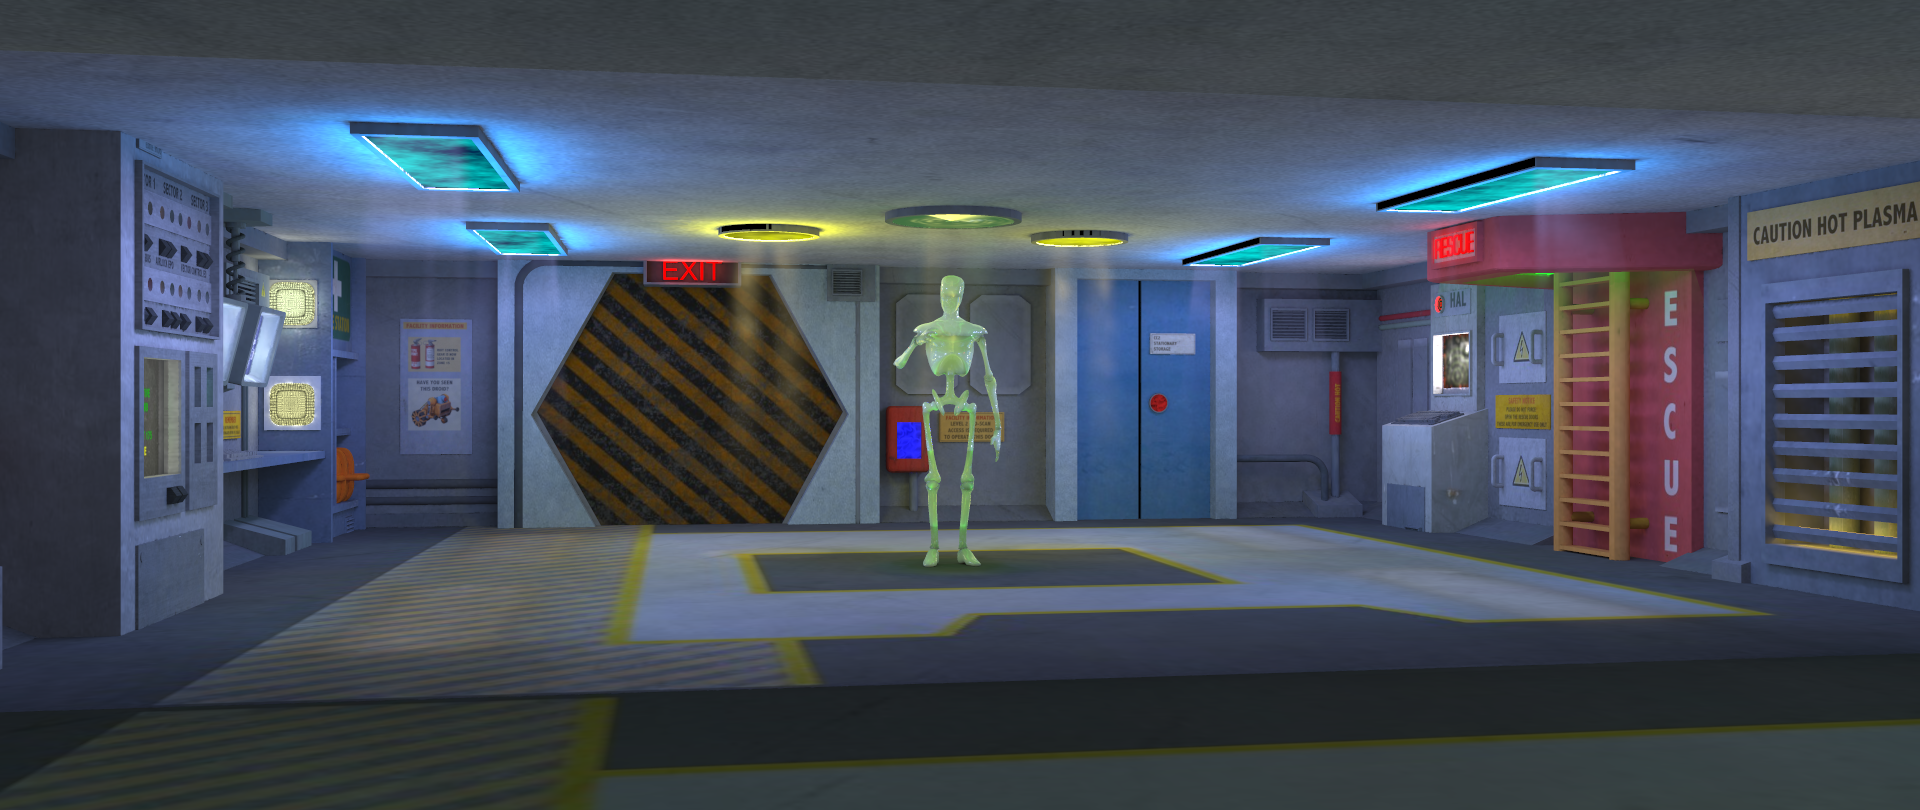

seachnasaigh - thats looking amazing there chap! Really like the flashing light on the sign, think that gives it a real this is "broken" feel to the set. Not something I'd thought about, but it really works. Also thanks again for this, looking forward to getting your demo bit back and seeing how it works on a pratical level. So yes please IM me a link to it. Then I can bash on with finishing this off and releasing it. Think a lot of folks will be impresed with what you've done here. Nancy - ta for that info. Could you post some renders to show us what the improvements are like?
Pinky - you left the lens cap of your mind on again.